

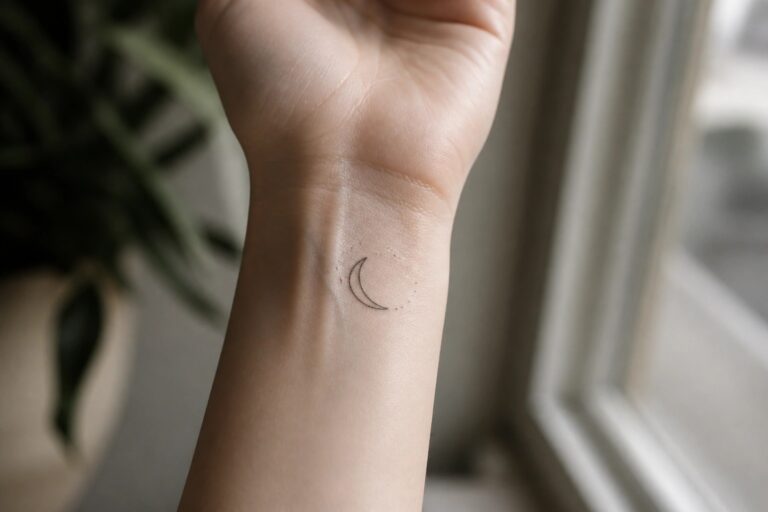
I have a soft spot for tiny tattoos that feel like secret accessories.
After my first moon tattoo I was hooked and sketched crescent ideas whenever I had a spare minute.
These 23 dainty moon designs are perfect for first timers who want something feminine and subtle.
I chose pieces that flatter a wrist or ankle.
You can also picture gentle crescents on a collarbone or tucked behind the ear.
Stick with me and you might find a tiny moon that feels like your new favorite charm.
Crescent moon on the inner wrist
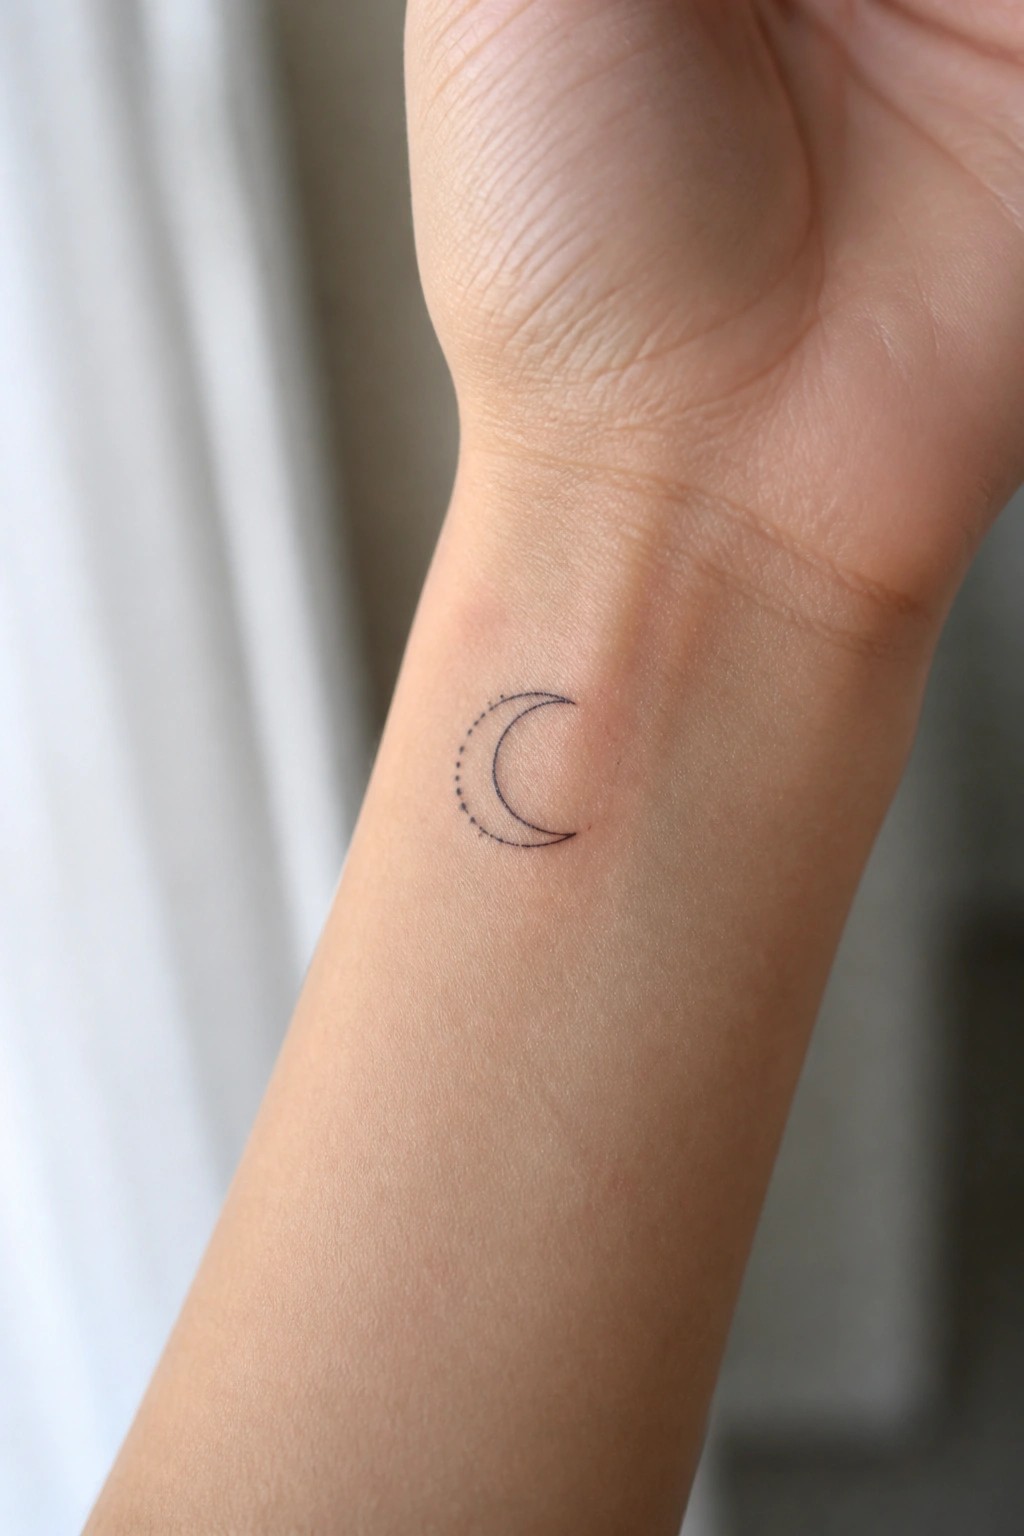
The inner wrist works well for this small crescent moon because the area stays fairly flat and visible in daily life. The design sits low enough that it does not interfere with movement or clothing. Its simple lines make it easy to hide with a watch or bracelet when needed.
I think the dotted edge gives the moon a bit of texture without adding extra work. The size stays readable while still feeling light for a first tattoo.
Moon phases run down the inner forearm
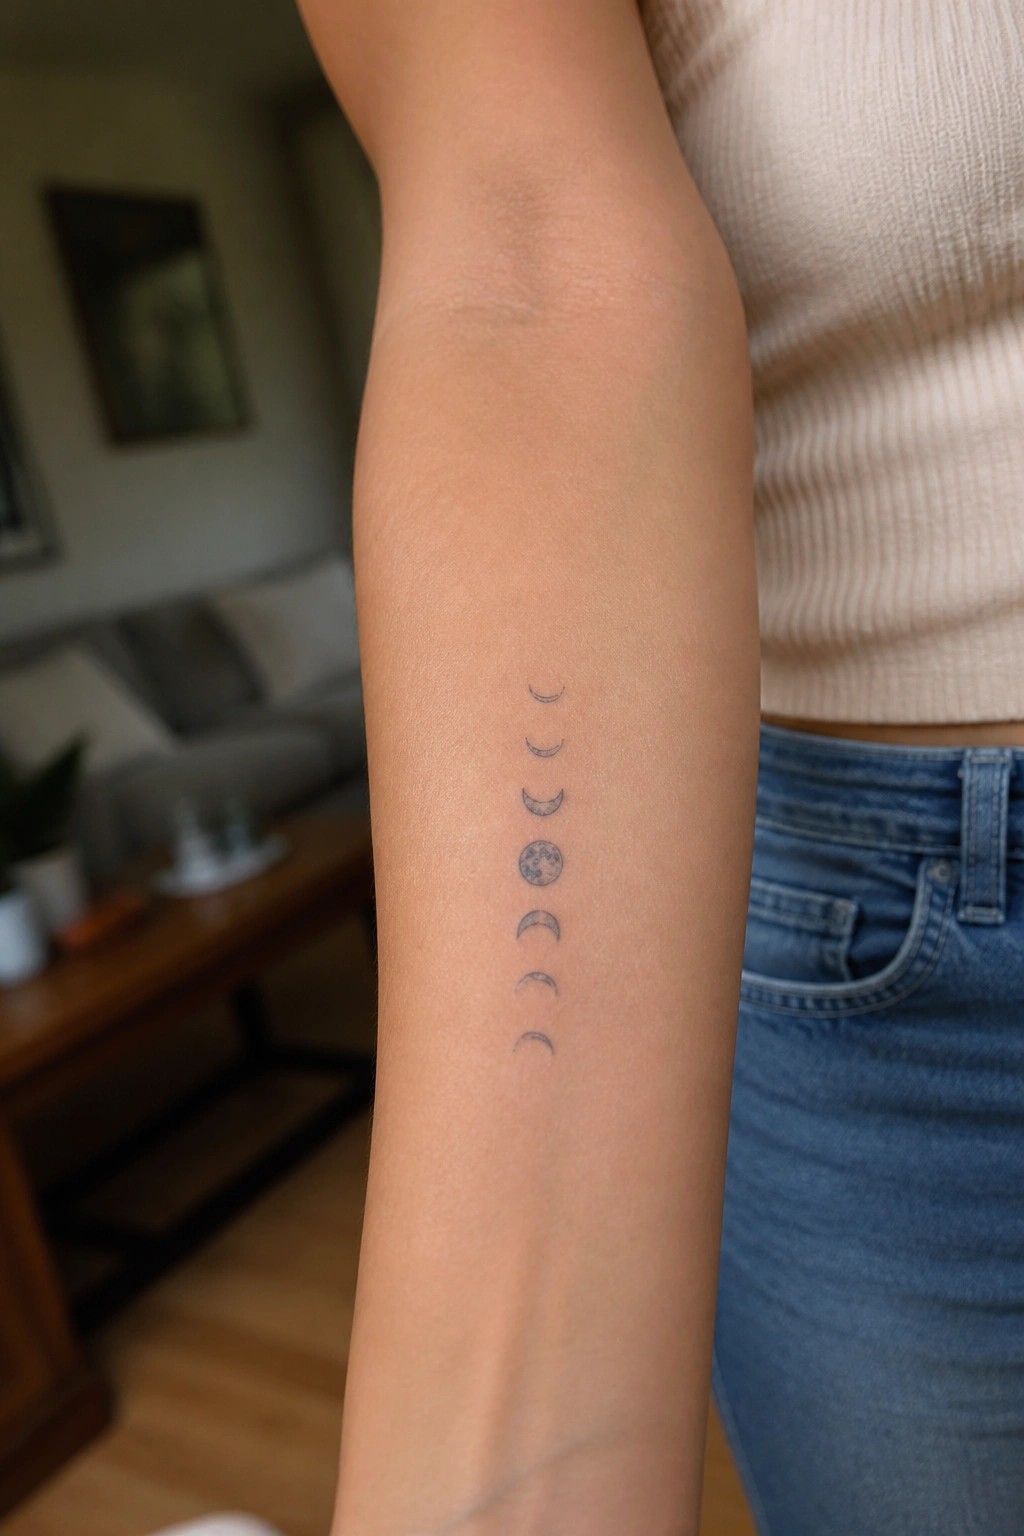
The inner forearm gives these moon phases a natural vertical path. The phases sit evenly spaced with the full moon centered between the crescents above and below.
I think the fine line approach works here because it keeps the cycle readable without adding bulk. This layout feels like a straightforward choice for someone who wants a small piece that still shows clear progression.
Floral crescent moon on the shoulder
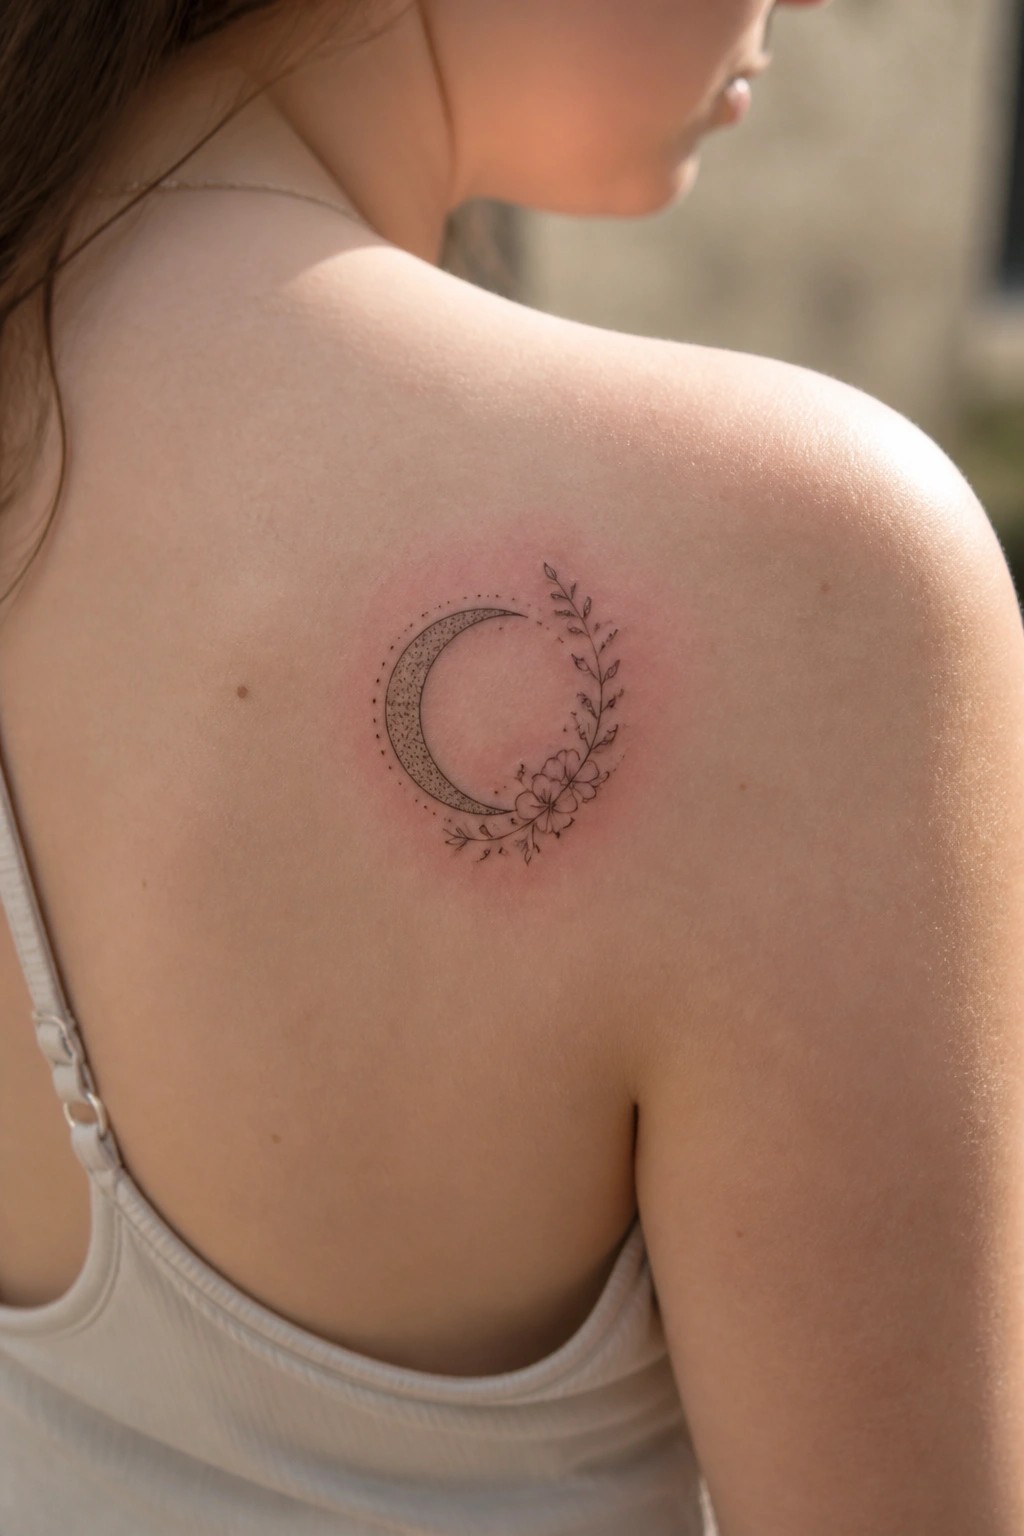
The tattoo sits on the upper shoulder. Its curve follows the natural roundness of that spot without needing extra adjustment. A few flowers sit along the lower edge to balance the open side of the moon.
The placement keeps the whole piece compact and easy to cover. Fine lines and light dotwork help it stay readable at this size without crowding the skin.
A crescent moon behind the ear
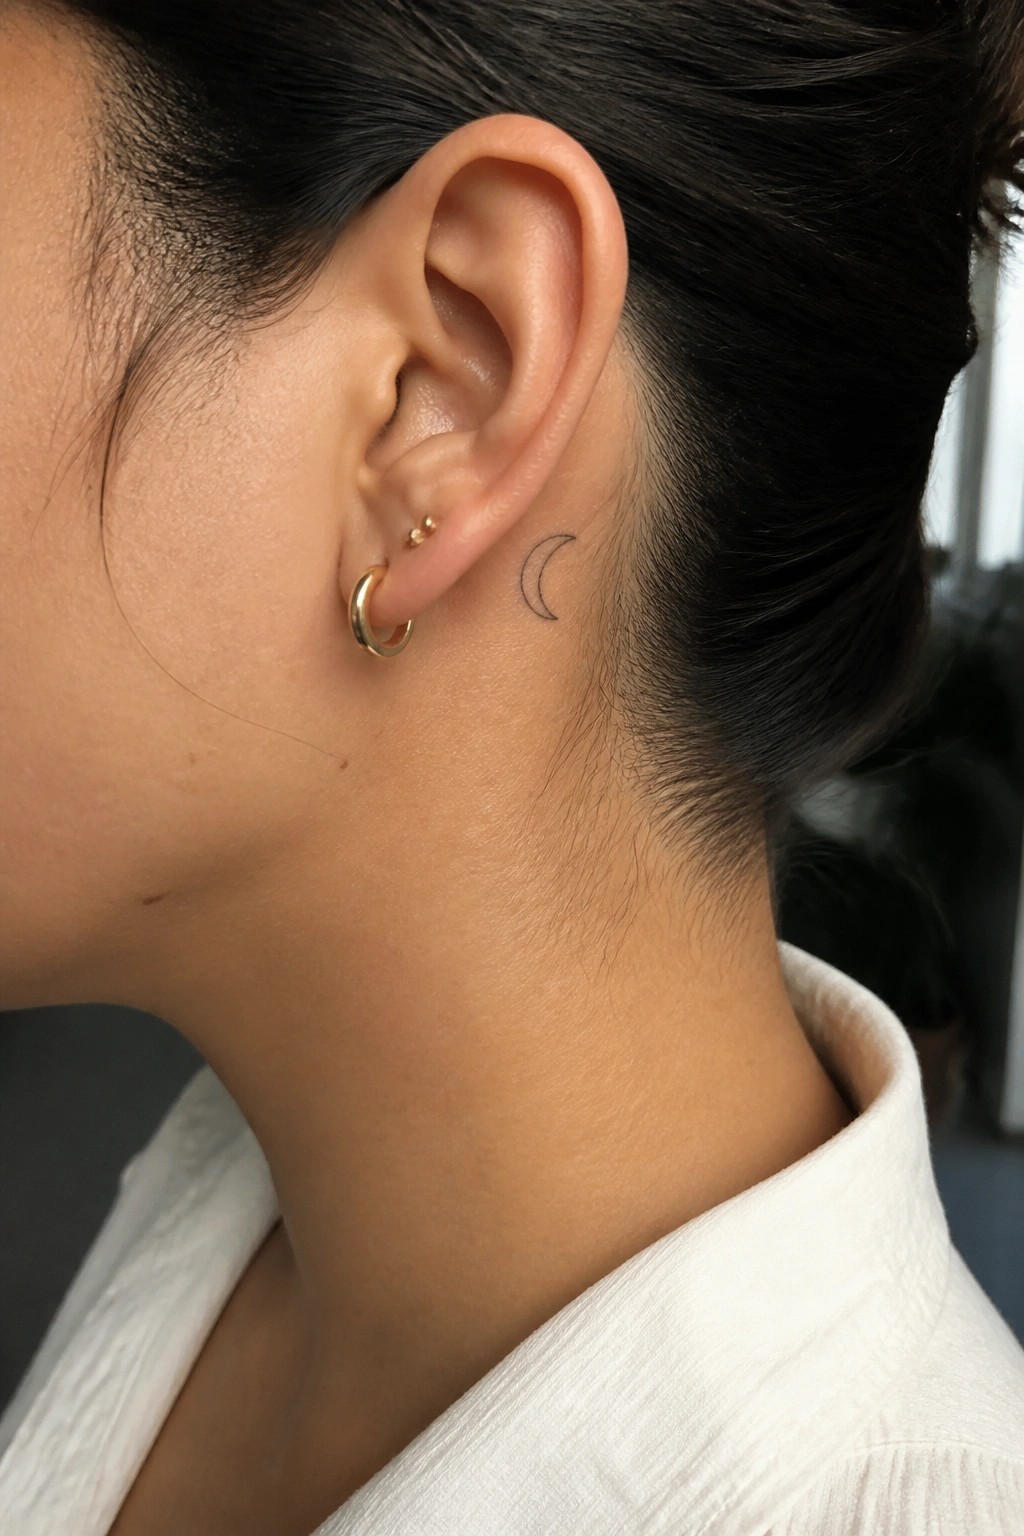
The placement tucks the moon right behind the ear along the hairline. This keeps the design mostly out of sight but visible when hair moves. The small size fits the narrow space without crowding.
I chose this spot because it gives the tattoo a private feel while still showing up in photos. The simple outline also stays easy to touch up later if needed.
Small crescent moon on the thigh
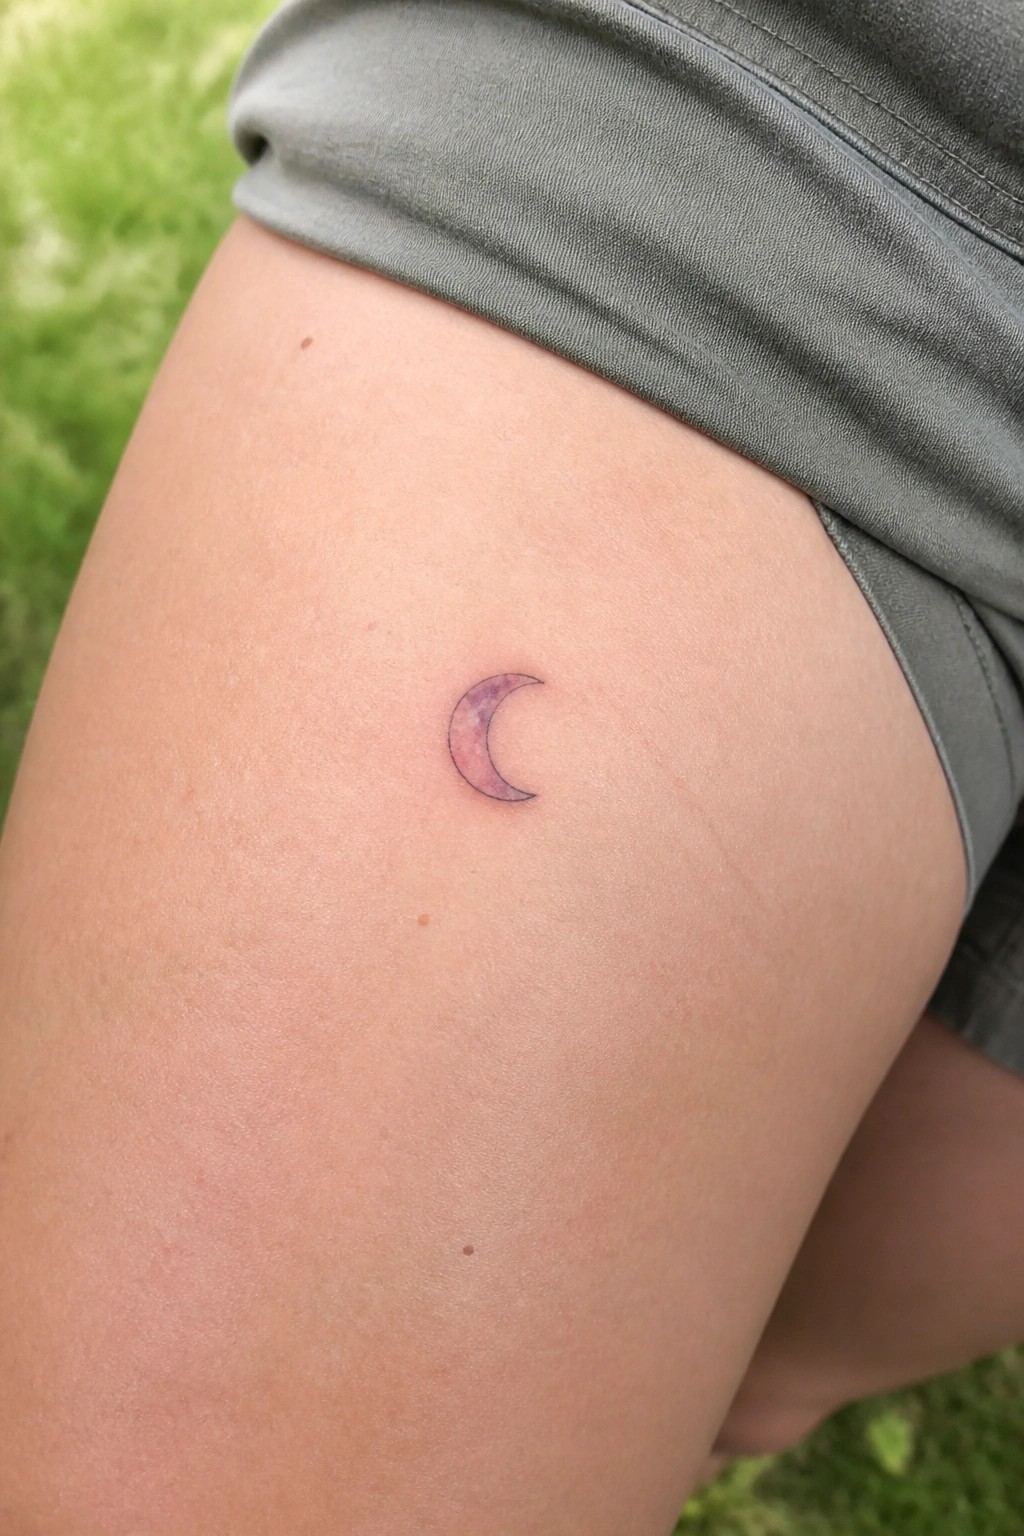
A crescent moon sits on the upper thigh in a simple outline. Soft purple and pink shading fills the inside without adding extra lines. The whole piece stays compact so it does not overwhelm the area.
I think the small scale works well for a first tattoo because it heals faster and stays easy to cover. It also leaves space if more pieces get added later around it.
Moon phases align down the side
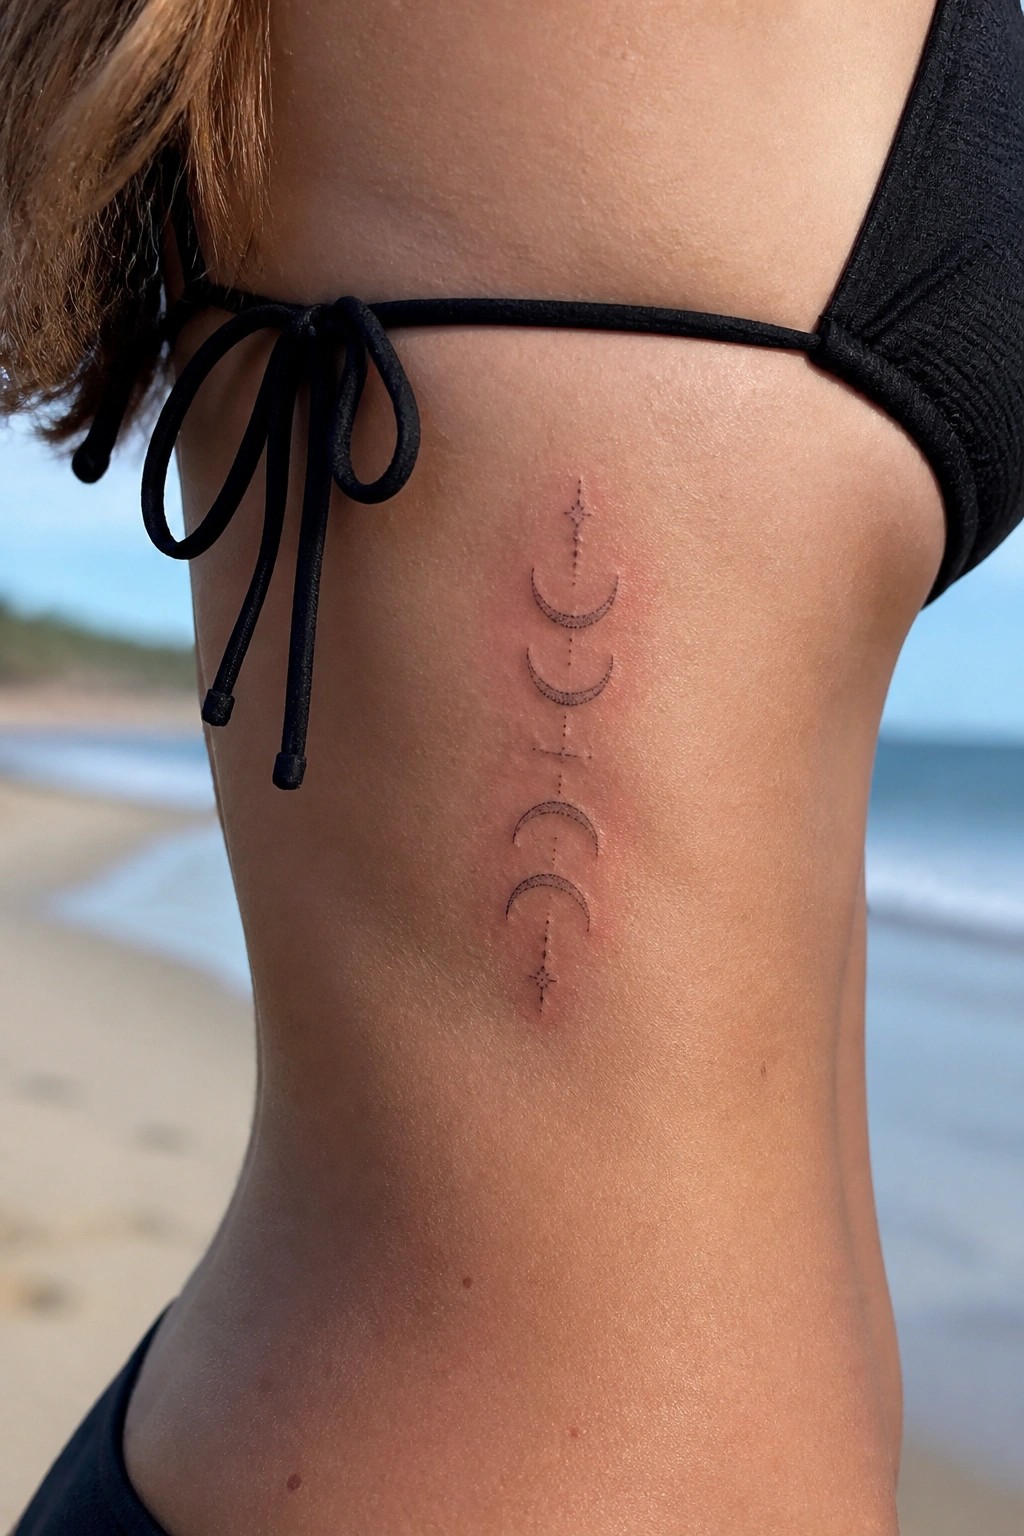
The side torso gives this design room to stretch in a straight vertical line. Moon phases stack from a small star at the top through several crescents and down to a matching star at the bottom. Fine dots connect each element without adding bulk.
I like how the placement keeps everything compact while still showing the full sequence. It suits someone who wants a first tattoo that stays simple but has a clear shape.
Crescent moon and star on the ankle
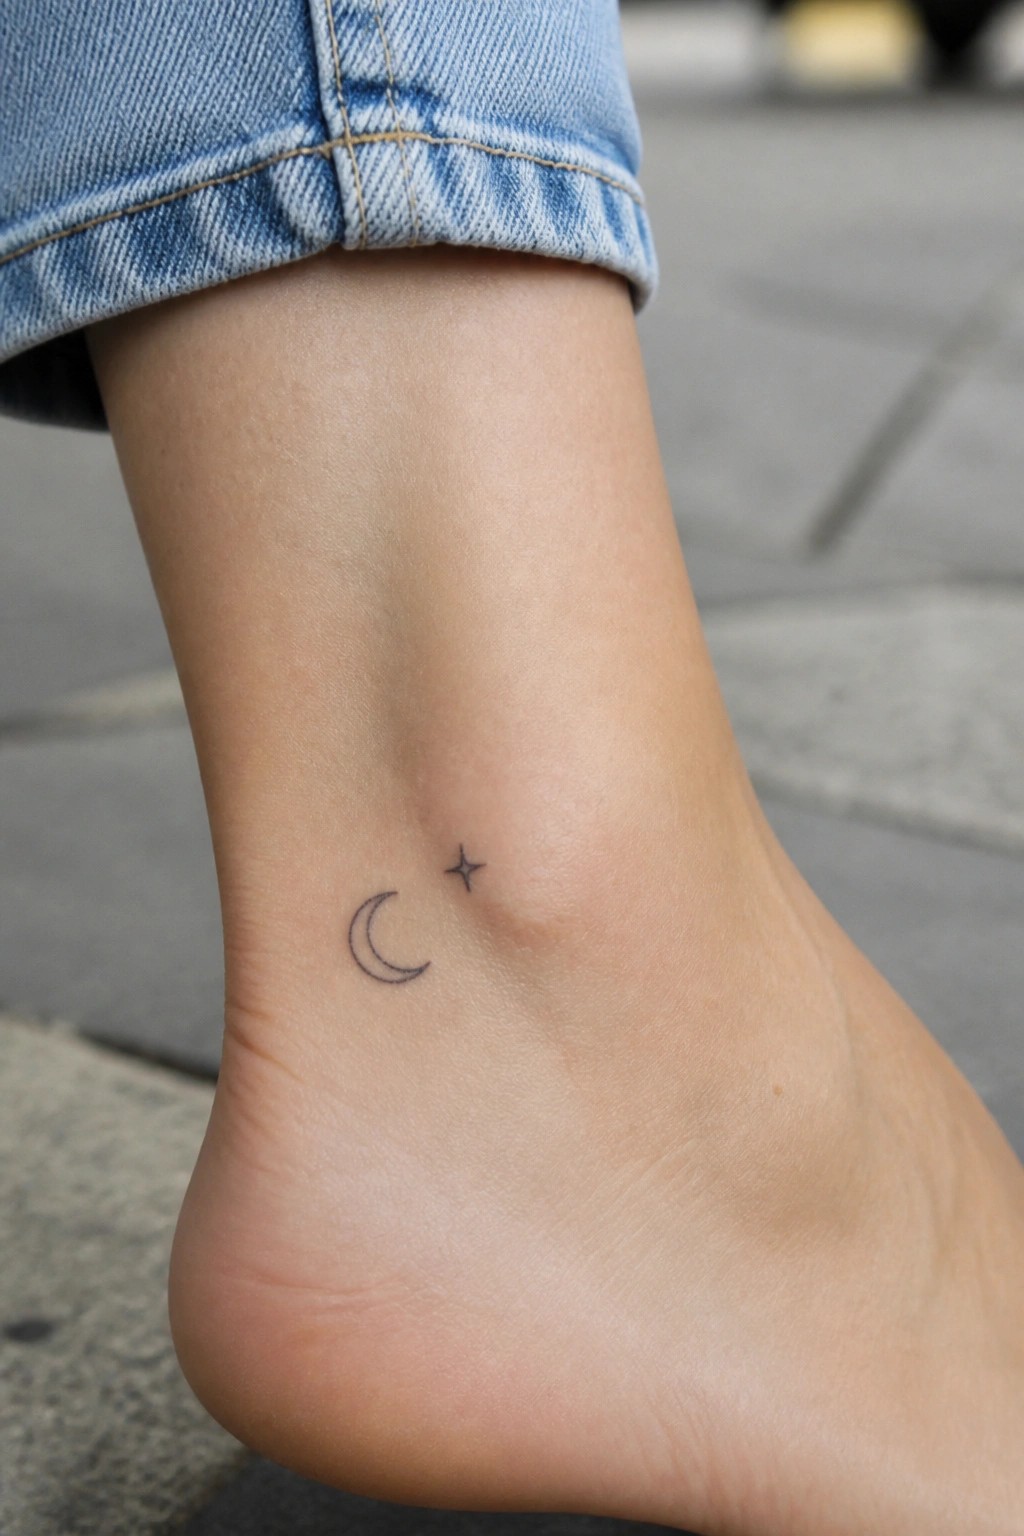
The ankle gives this small moon and star enough room to sit without crowding. It stays covered most of the time under socks or pants, which helps during the healing stage. When visible it still reads as a quiet detail rather than a statement piece.
I chose this placement because the curve of the ankle matches the moon shape without forcing the design. The fine lines also stay clear at this size and do not blur easily over time.
Dotwork crescent moon on the shoulder
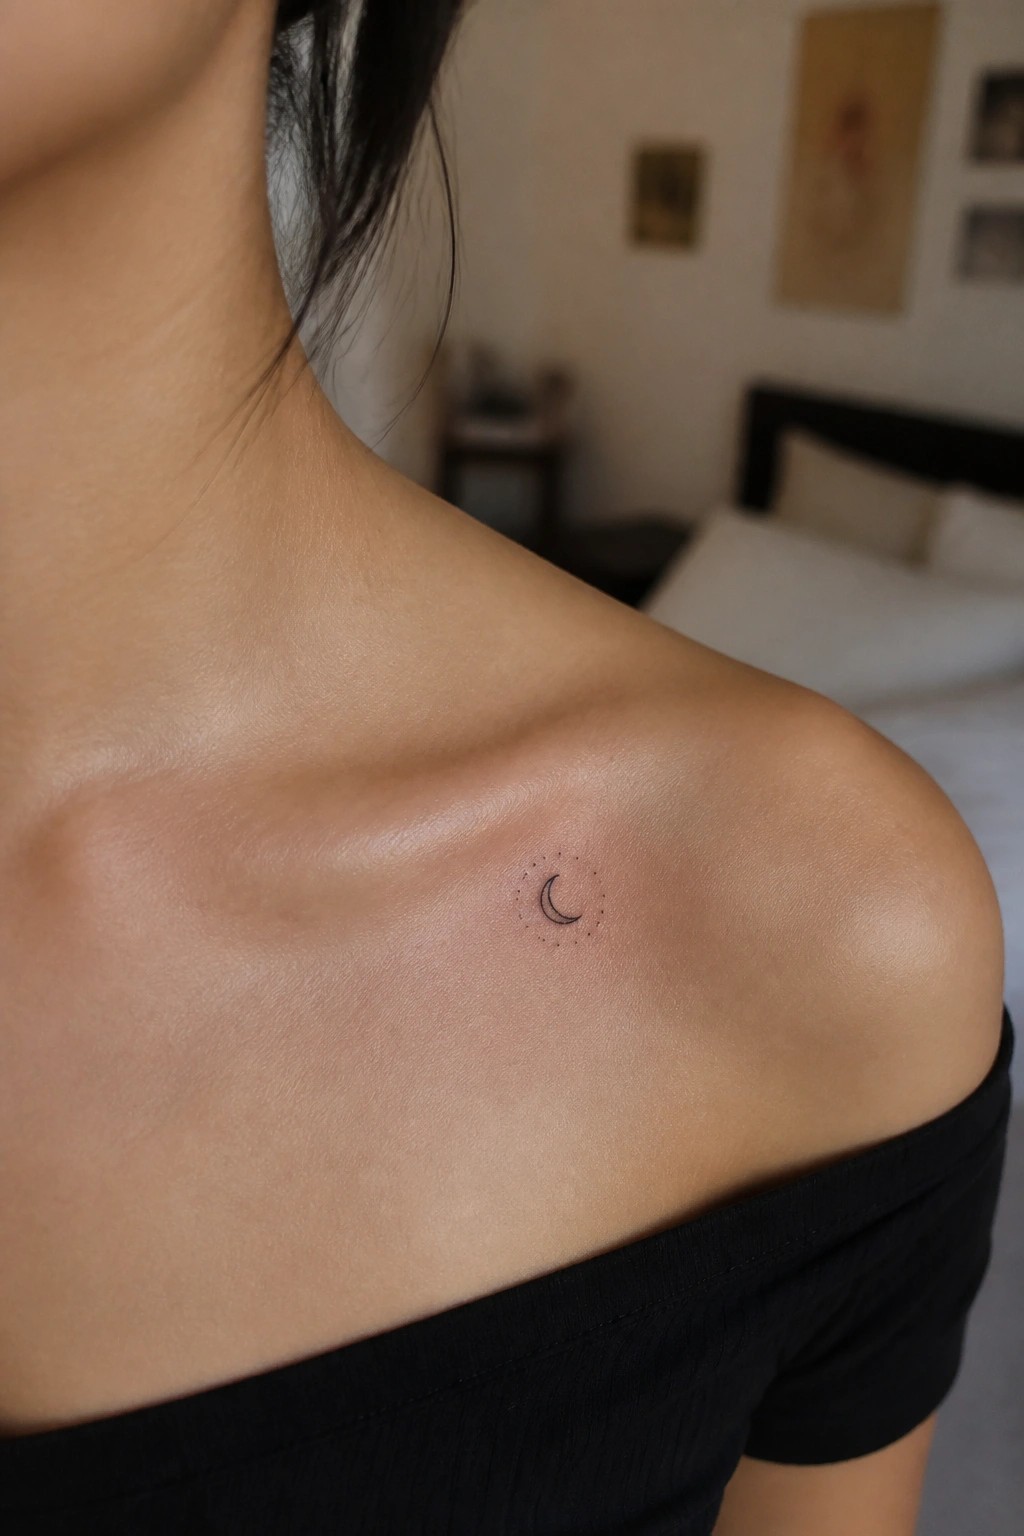
The shoulder gives this small moon enough room to sit cleanly without crowding the skin. A thin crescent sits inside a ring of dots that keeps the whole thing balanced. The placement lets the tattoo show with off shoulder tops but stays easy to cover with most shirts.
I think the size makes it a solid first tattoo choice since it does not demand a big commitment. The dots give the design a bit more shape while keeping the overall look light and simple.
A moon and branch on the hand
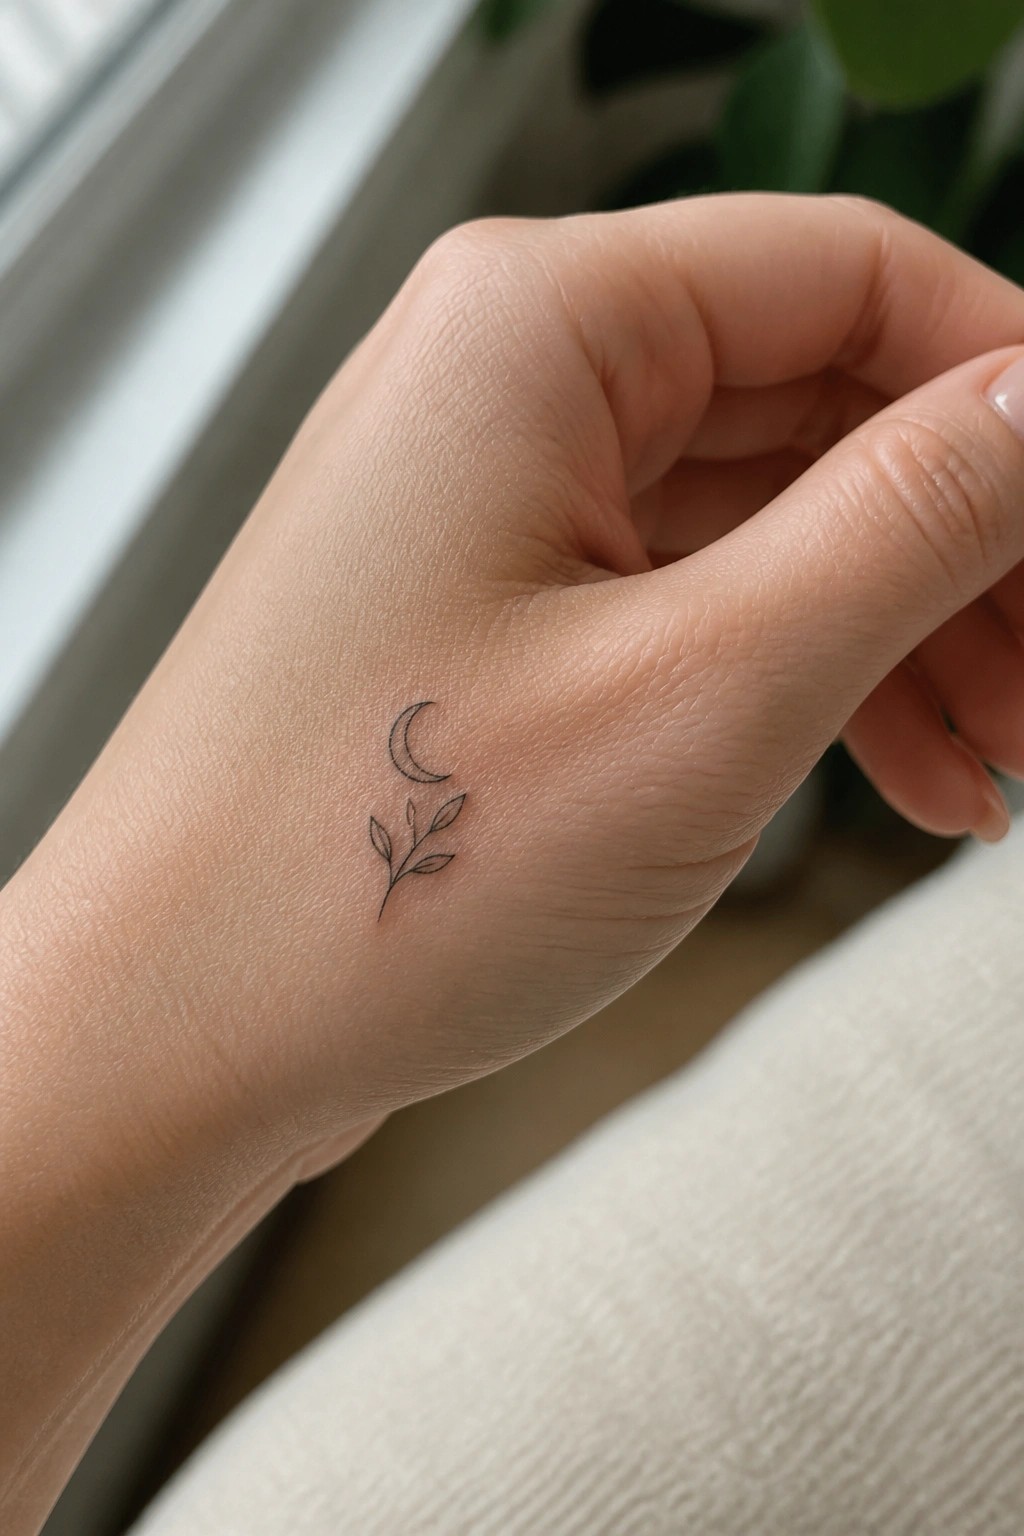
The tattoo sits on the side of the hand. Its small scale fits the area without crowding the skin. A crescent moon rests above a short stem with a few leaves.
I think this placement keeps the design easy to show or hide depending on hand position. The simple lines also help it stay readable even on a moving area like the hand.
Moon phases line up along the spine
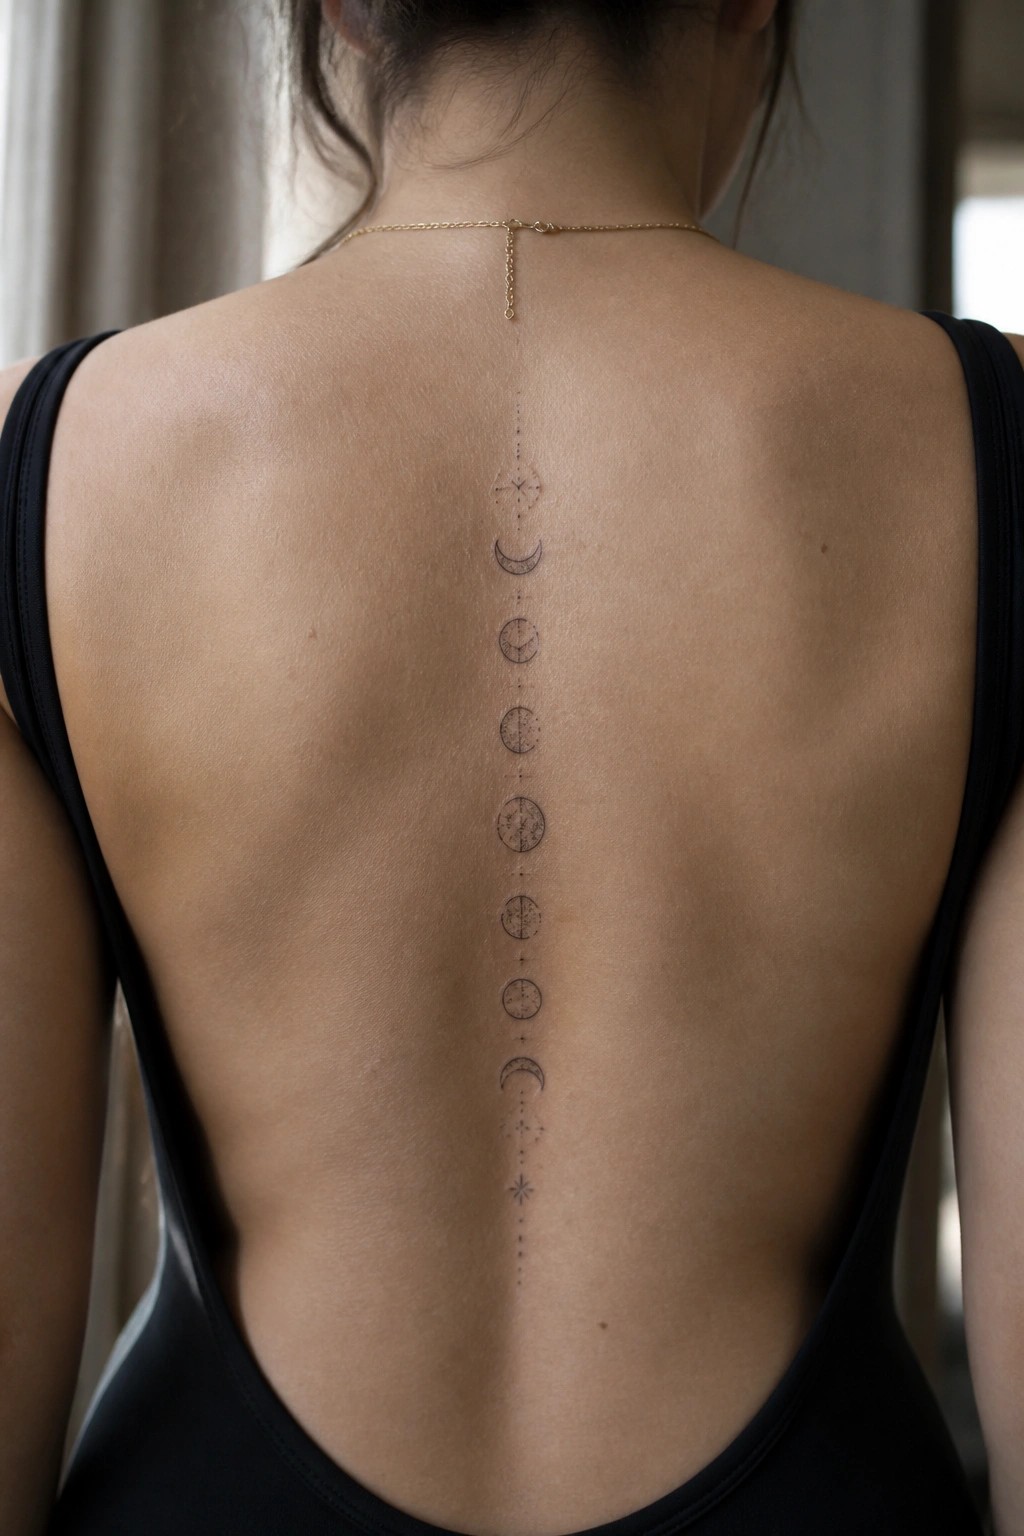
The spine creates a natural guide for this sequence of moon phases. Each phase sits in a straight row with small dots and stars marking the spaces between them. The fine line work keeps the whole piece narrow and balanced from neck to lower back.
I like how the vertical layout turns the phases into one connected idea rather than separate symbols. It also gives the tattoo room to breathe without needing extra shading or color.
Crescent moon on the ankle
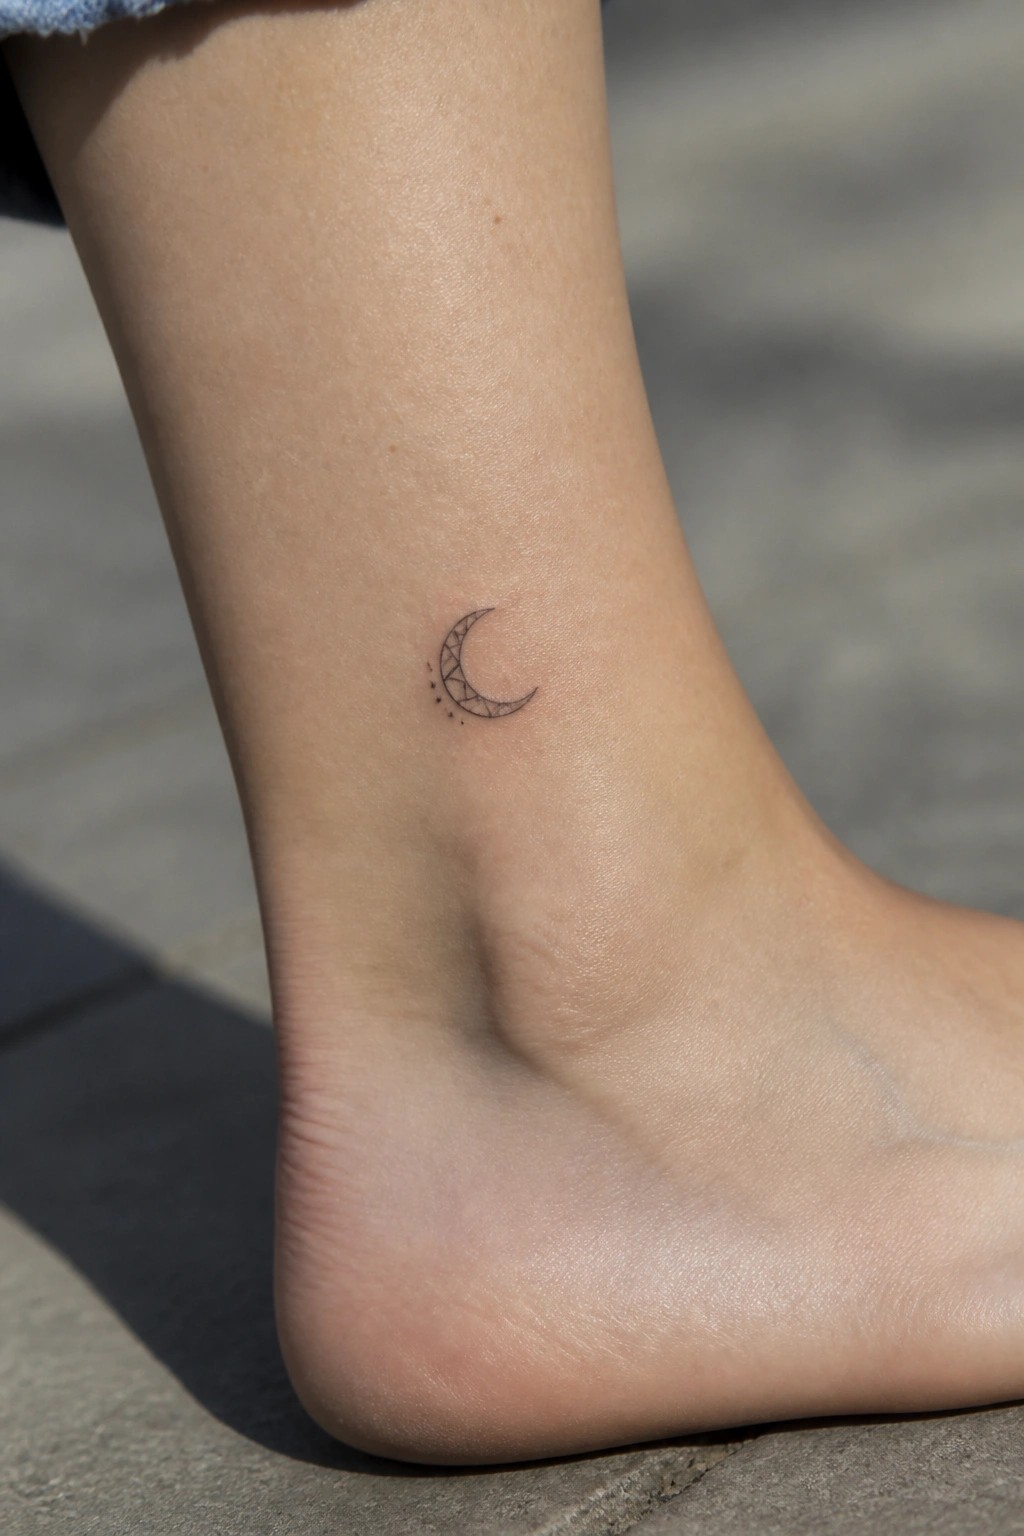
The ankle gives this moon tattoo a natural home. It sits right above the bone in a spot that stays flat and visible only when shoes come off. The small scale keeps the lines clean without fighting the curves of the foot.
I think the dots trailing behind add just enough movement to stop it from feeling static. It works as a first tattoo because the placement stays easy to cover or show.
Moon and star behind the ear
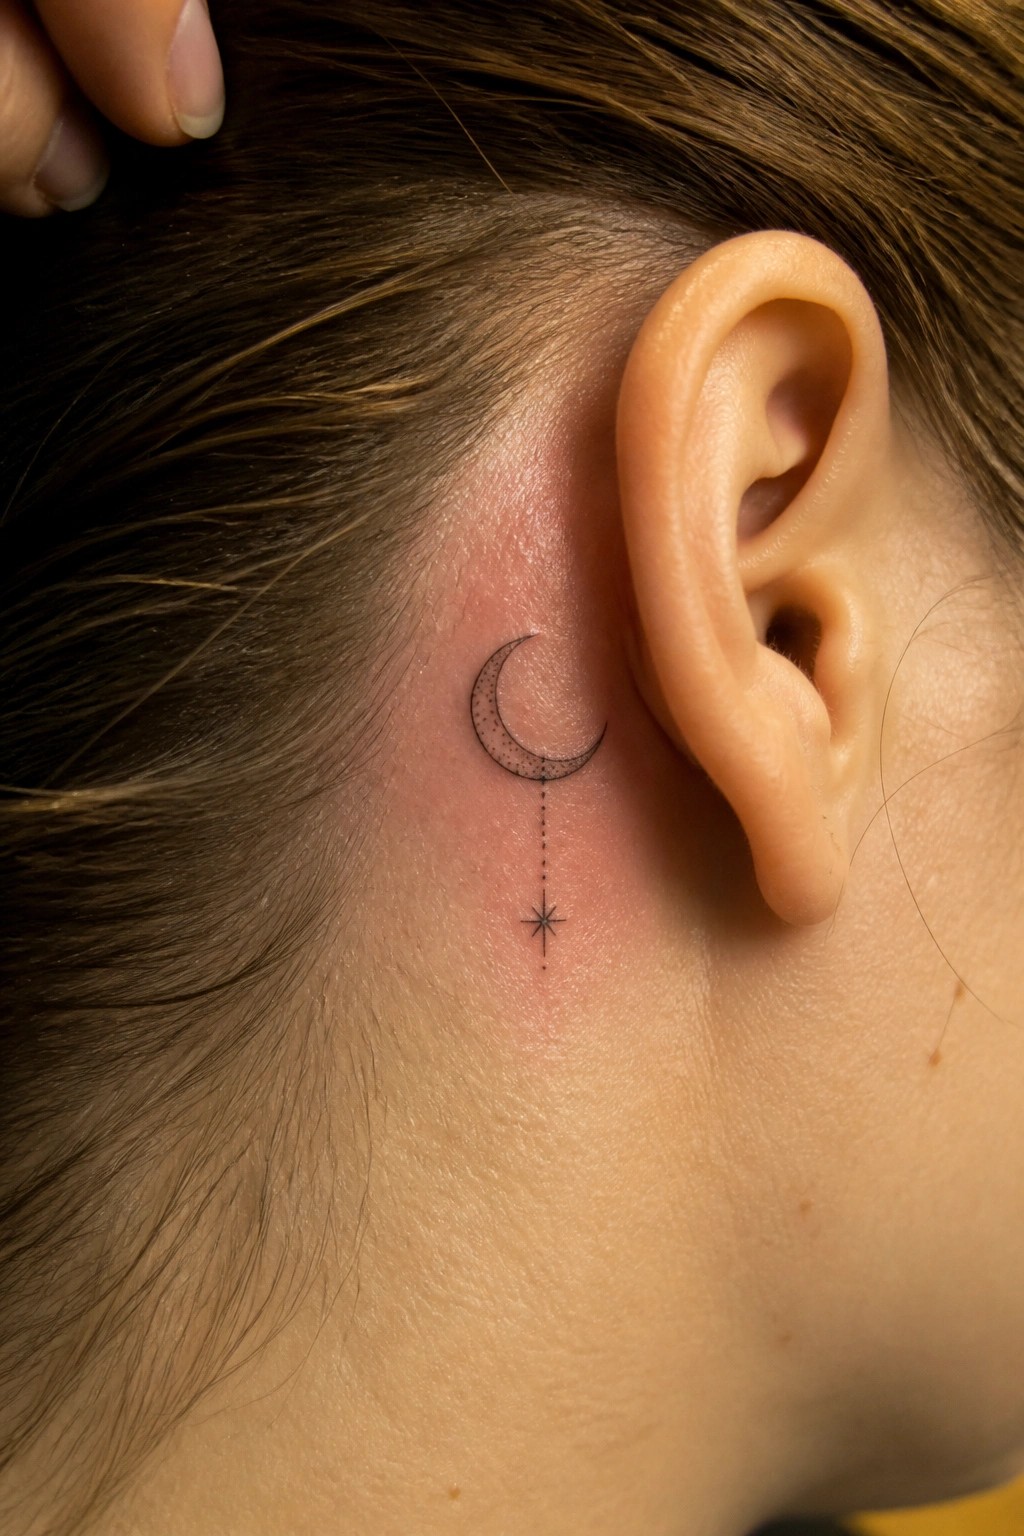
A small crescent moon with dotwork sits just behind the ear. A thin dotted line drops down from the moon to a tiny star. The whole piece stays compact and uses minimal shading.
I like how the vertical layout fits the narrow space there without crowding the skin. It also stays mostly hidden unless the hair is pulled up.
A small moon sits on the ribs
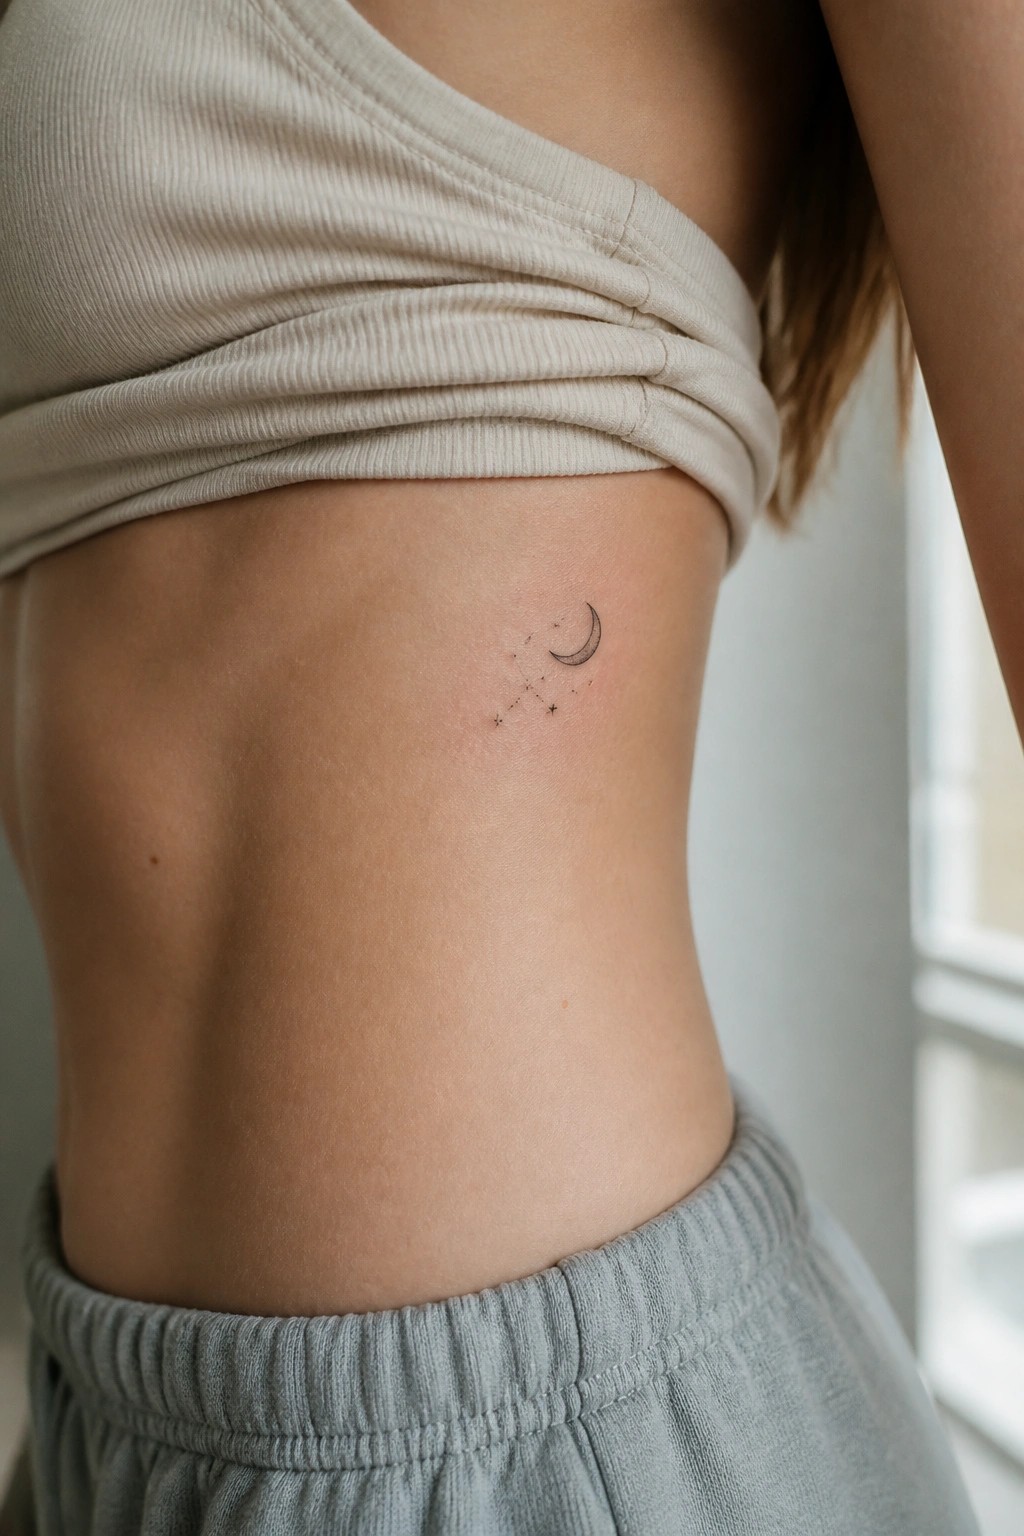
The side placement keeps the tattoo mostly hidden under clothes. It only becomes visible when the top lifts or the person turns. This makes it a good choice for someone who wants something personal but not always on display.
The crescent shape lines up with the curve of the ribs in a natural way. I like how the simple lines stay readable without needing extra detail to stand out in this spot.
Small crescent moon on the lower back
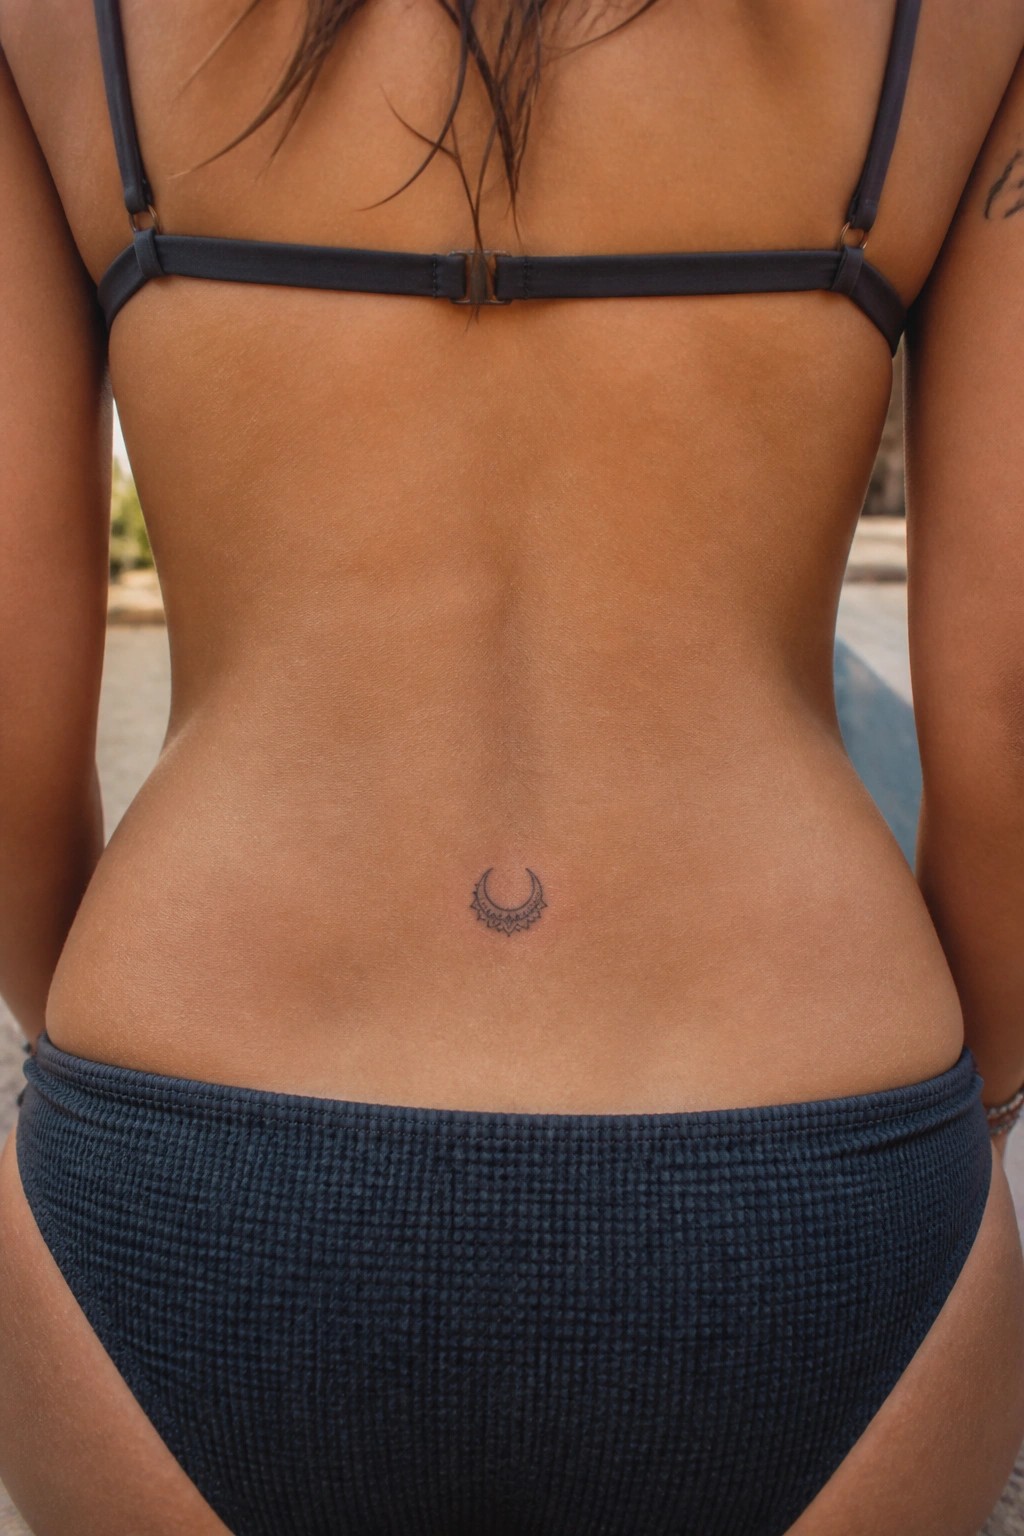
The tattoo sits centered on the lower back right above the waistband. It uses a thin crescent shape with a few small lines added underneath to give it a bit more shape. The overall size stays compact so it does not overwhelm the area.
This placement keeps the design mostly covered during daily wear but visible when wanted. I like how the fine lines stay readable without needing heavy shading or extra elements.
Crescent moon on the finger
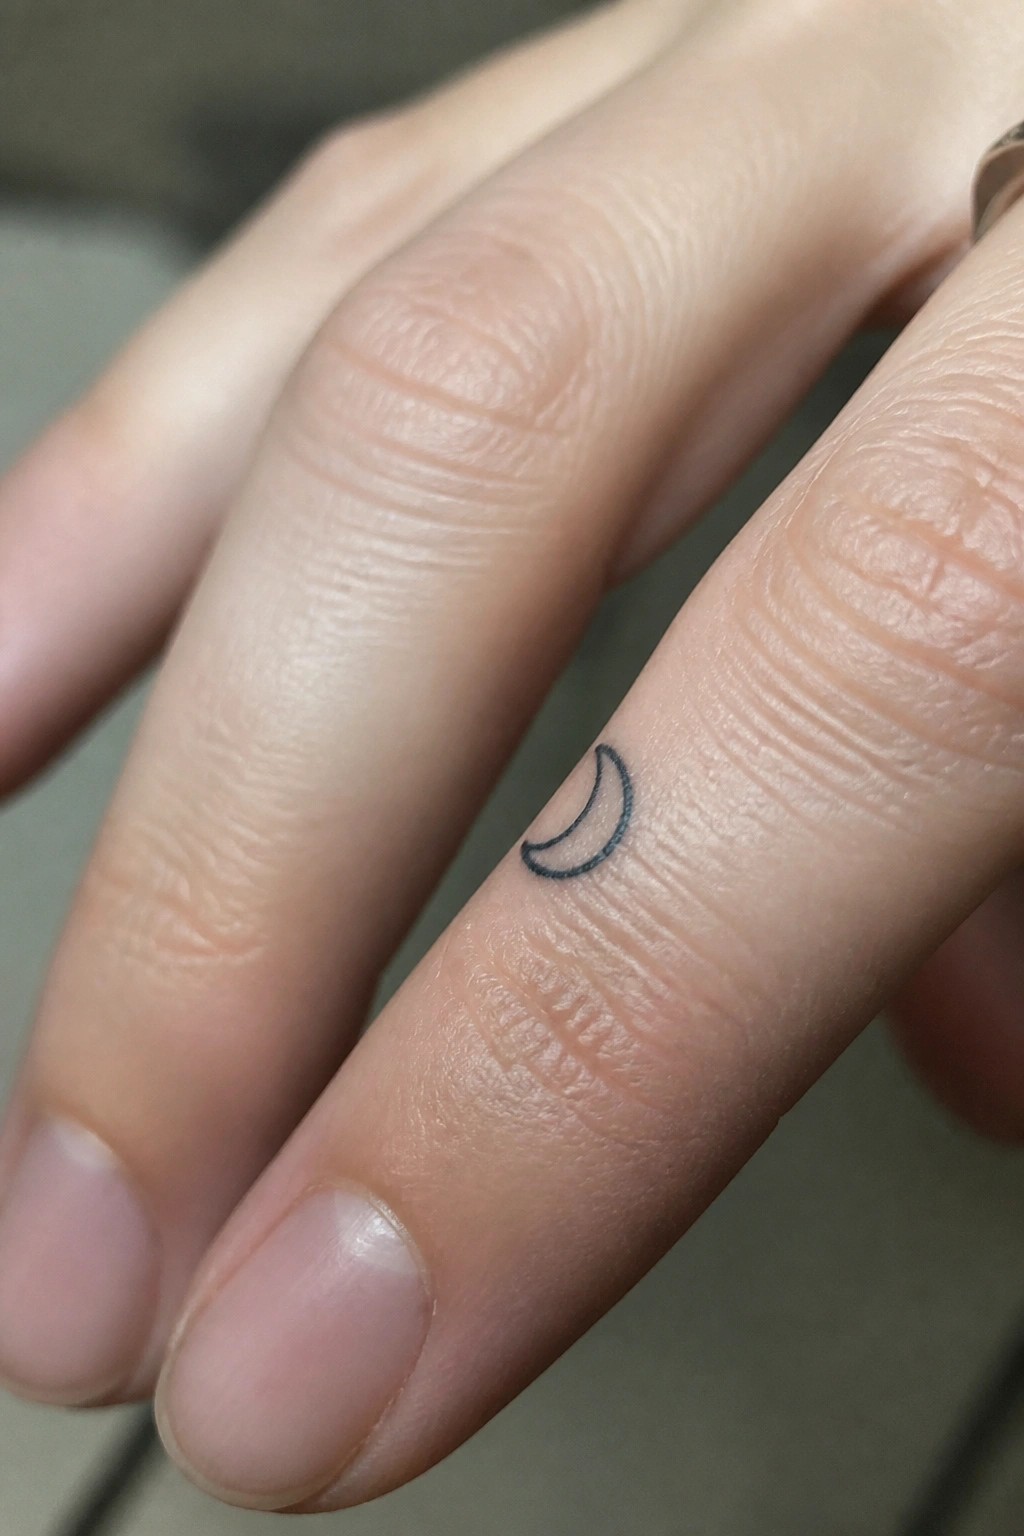
A crescent moon sits on the side of a finger. The small size keeps the design from crowding the narrow space. Simple lines help it stay clear as the skin moves.
I like this placement because the curve of the moon follows the finger naturally. It stays subtle for everyday wear but shows up when the hand turns.
A small crescent moon on the inner forearm
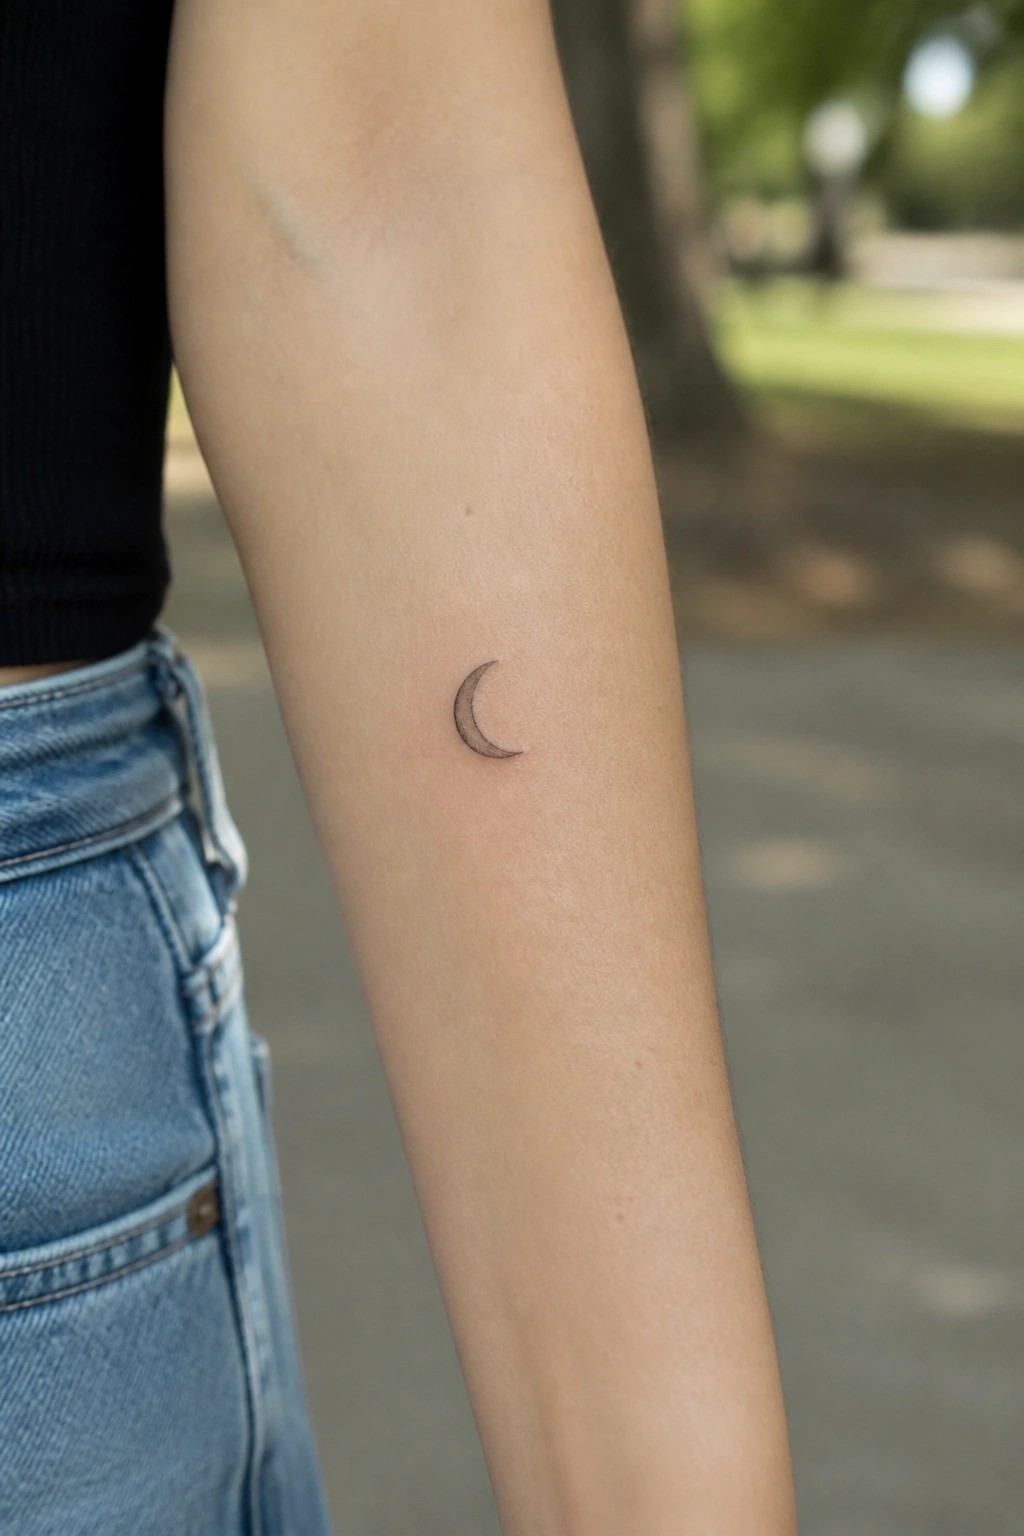
The tattoo sits on the inner forearm in a spot that stays visible in short sleeves but can be covered easily. It uses a fine line style with light shading on a simple crescent shape. The overall size stays small and contained.
I think the inner forearm works well here because the area gives the design room without needing extra detail. The scale also keeps the tattoo from feeling overwhelming as a first piece.
Stacked crescent moons on the upper arm
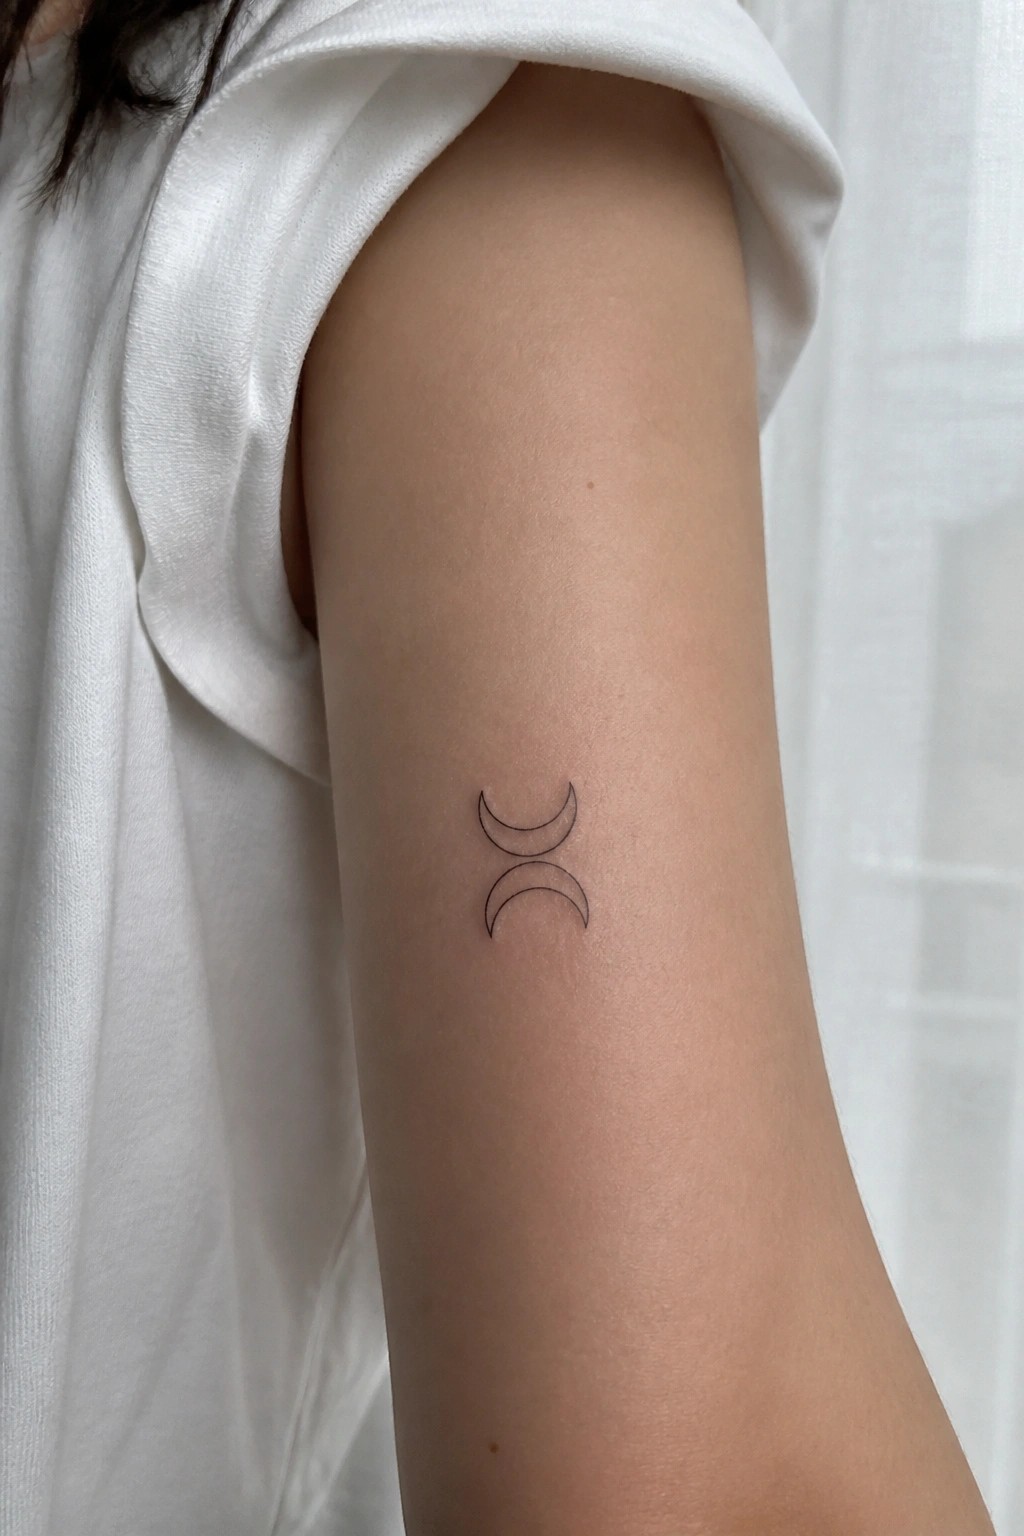
The upper arm gives this tattoo enough space to sit flat. Two crescent moons are drawn one above the other in thin lines. The vertical arrangement keeps the design small and contained.
I think the placement works because the stack stays visible with short sleeves but does not draw too much attention. It also leaves room to add more pieces around it later.
Crescent moon with stars on the thigh
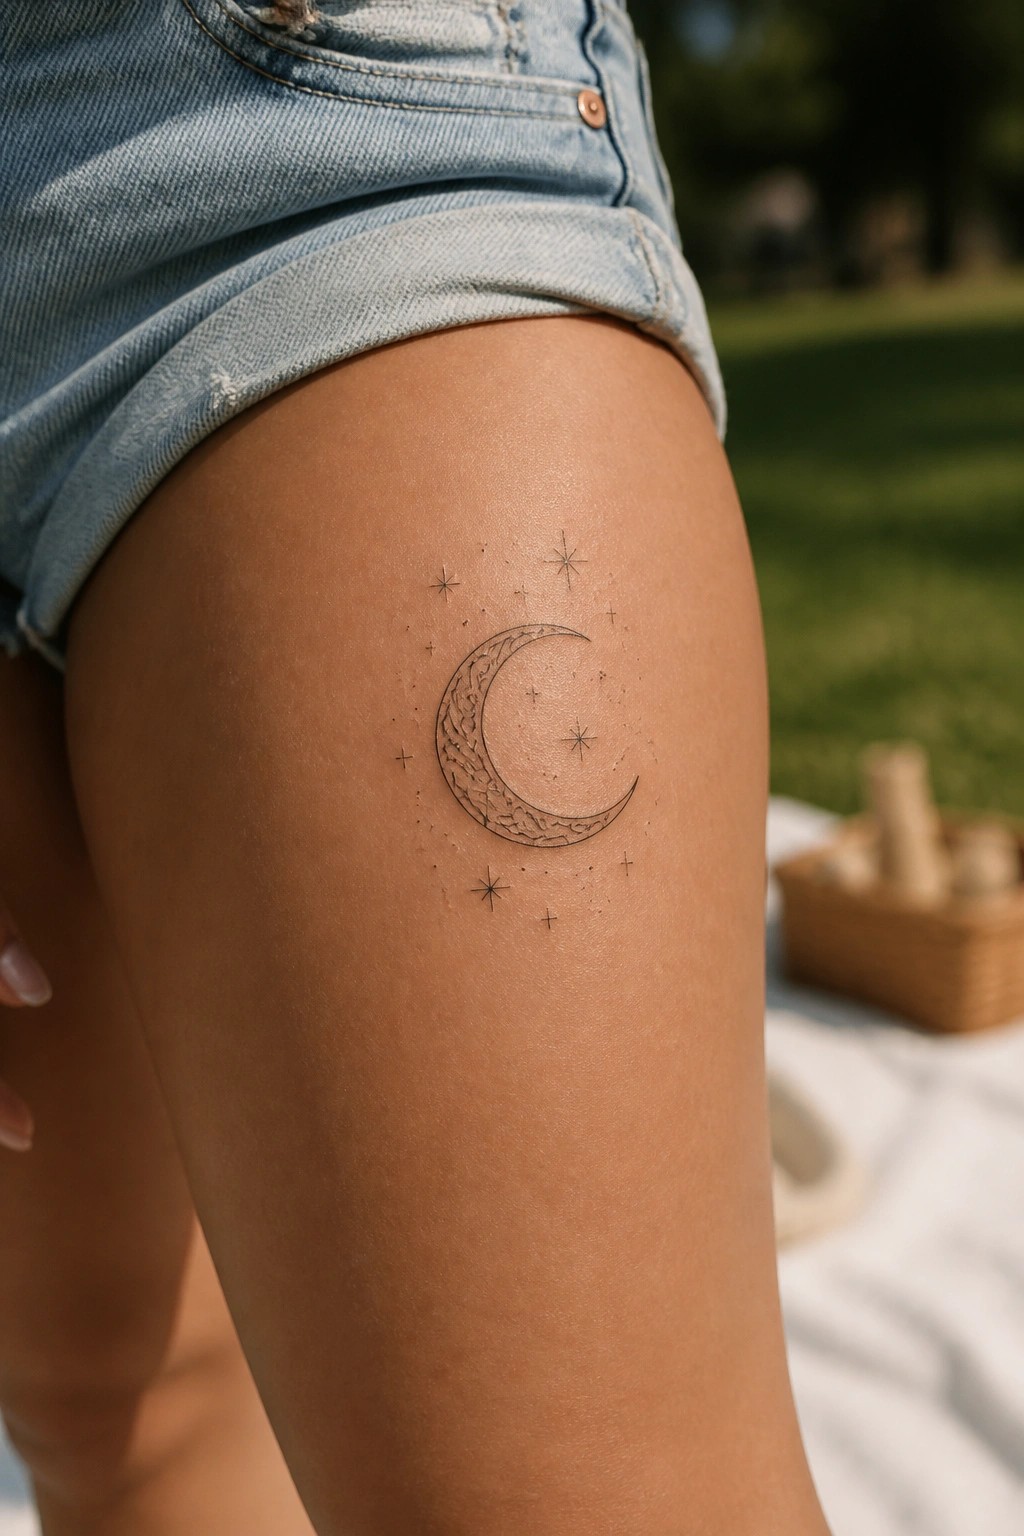
The thigh gives this crescent moon enough room to show its shape and the stars around it. The design stays compact so it reads clearly without spreading too far across the skin. Fine lines keep the whole piece light.
This spot also lets the tattoo stay mostly covered in daily clothes while still being easy to show. I think the size works because it avoids crowding the details.
Moon phases across the wrist
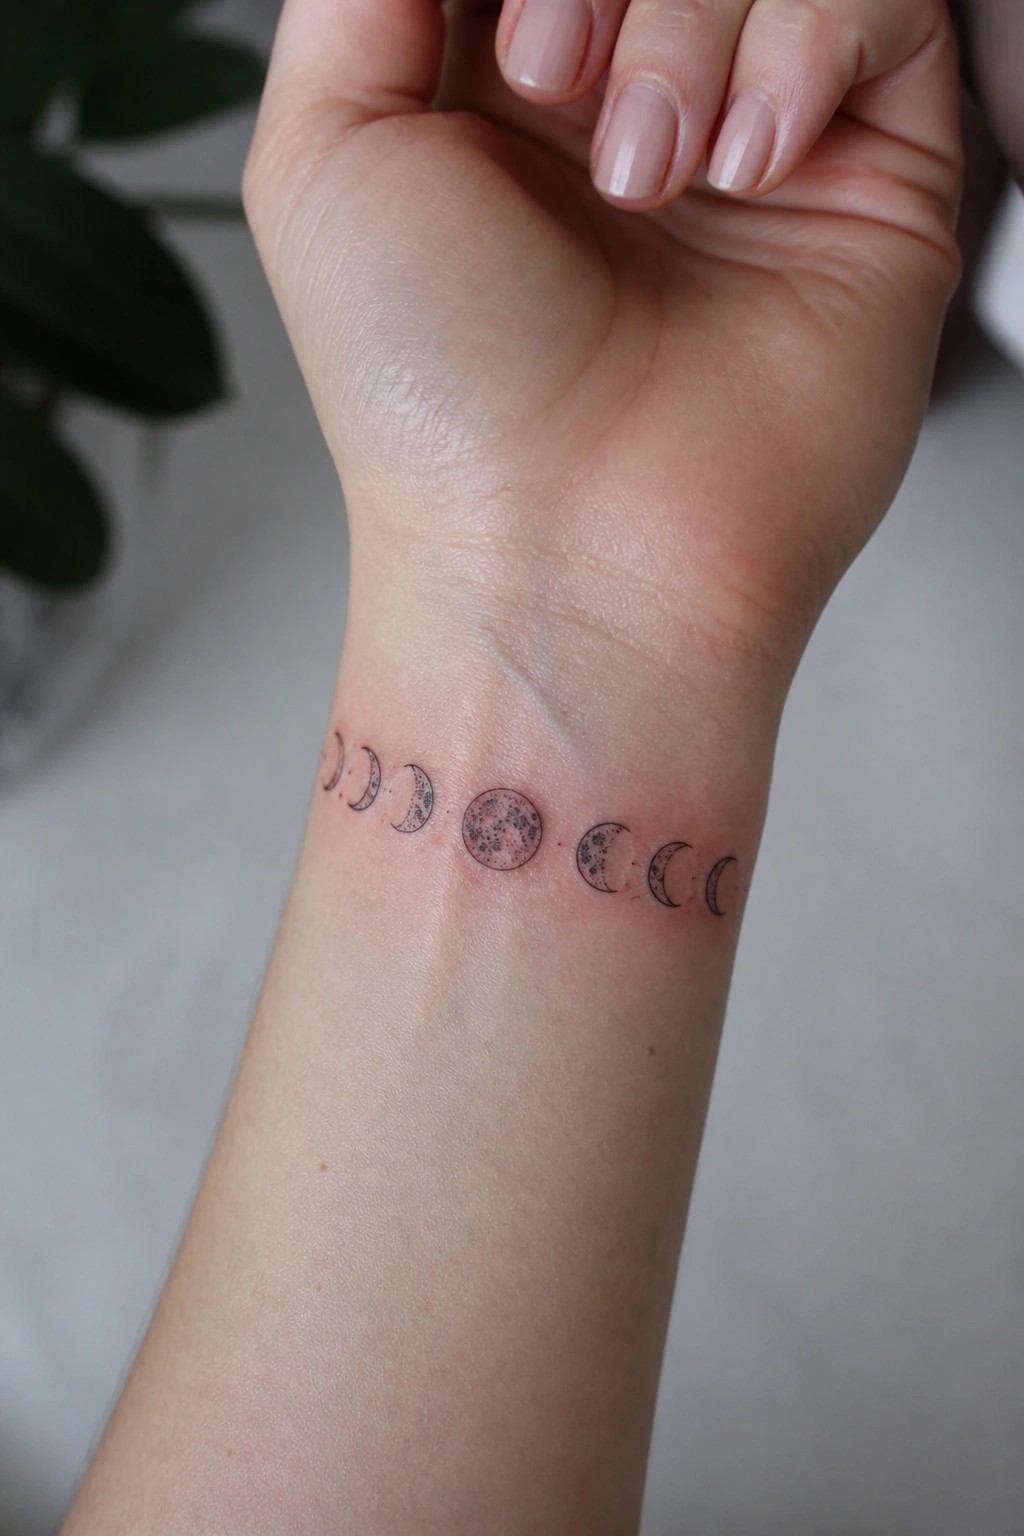
The inner wrist gives this moon phase sequence a clean path to run straight across the skin. The phases move from thin crescents into a fuller center and back again, all kept small enough to fit the area without spreading out too far. Simple line work and light shading on the moons keep the whole thing readable at this scale.
I think the placement makes sense here because the design stays flat and easy to see when the arm rests naturally. It also leaves room to add more later if someone wants to extend the row.
Crescent moon with luna on the collarbone
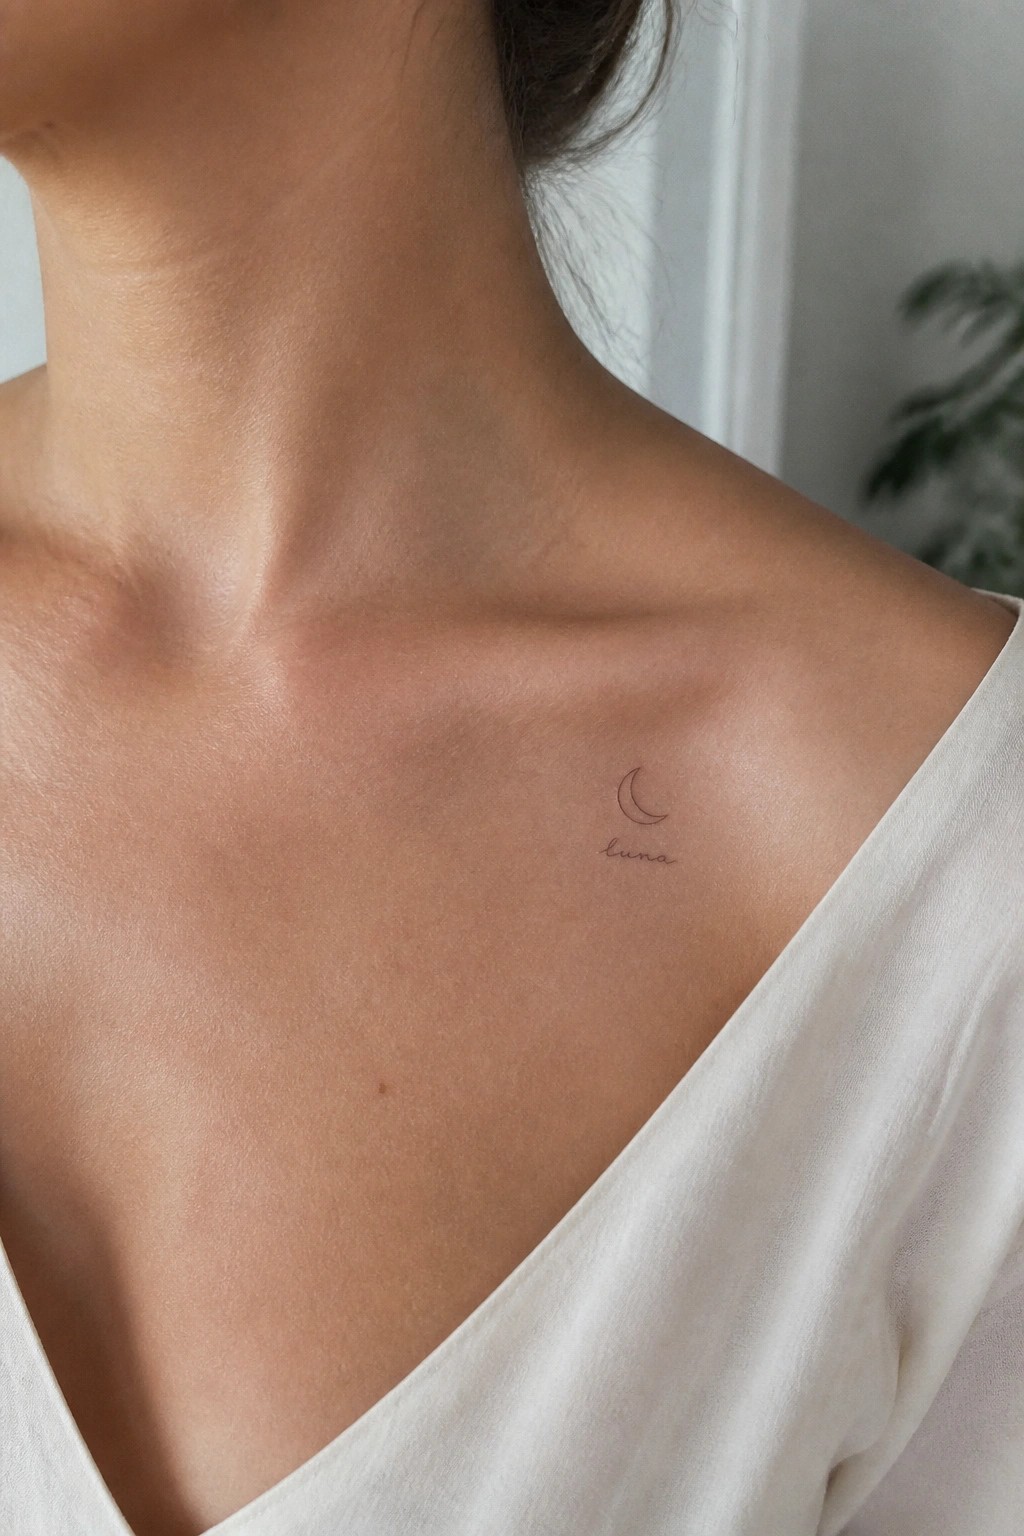
The collarbone spot lets a small crescent moon sit cleanly without competing with other lines on the body. Fine line work keeps the moon simple while the script below adds a short word in the same scale. This placement also makes the tattoo easy to show or hide depending on clothing.
I think the size works because nothing feels crowded and the lines stay readable up close. It suits someone looking for a first tattoo that stays personal but understated.
Moon and sun on the wrist
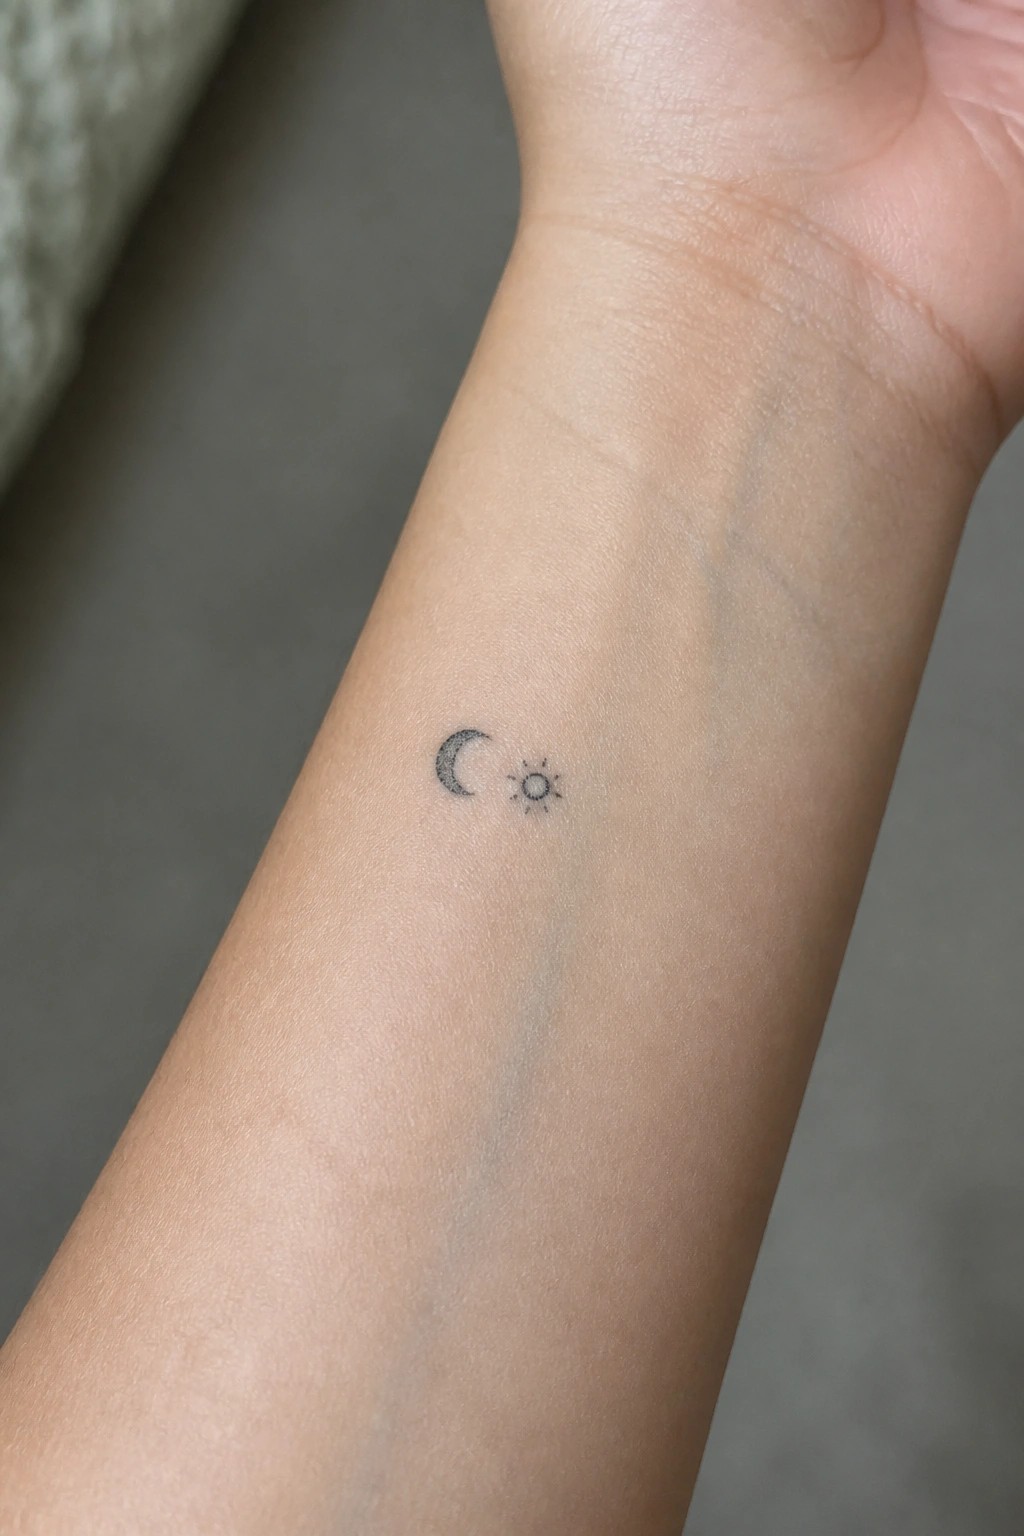
The tattoo sits on the inner wrist. It pairs a small crescent moon with a tiny sun in simple black lines. The whole piece stays compact and centered in one spot.
I think the wrist placement makes sense because the design stays visible in daily life without dominating the arm. It also leaves room to add more later if wanted.
Mini moon phase ankle band
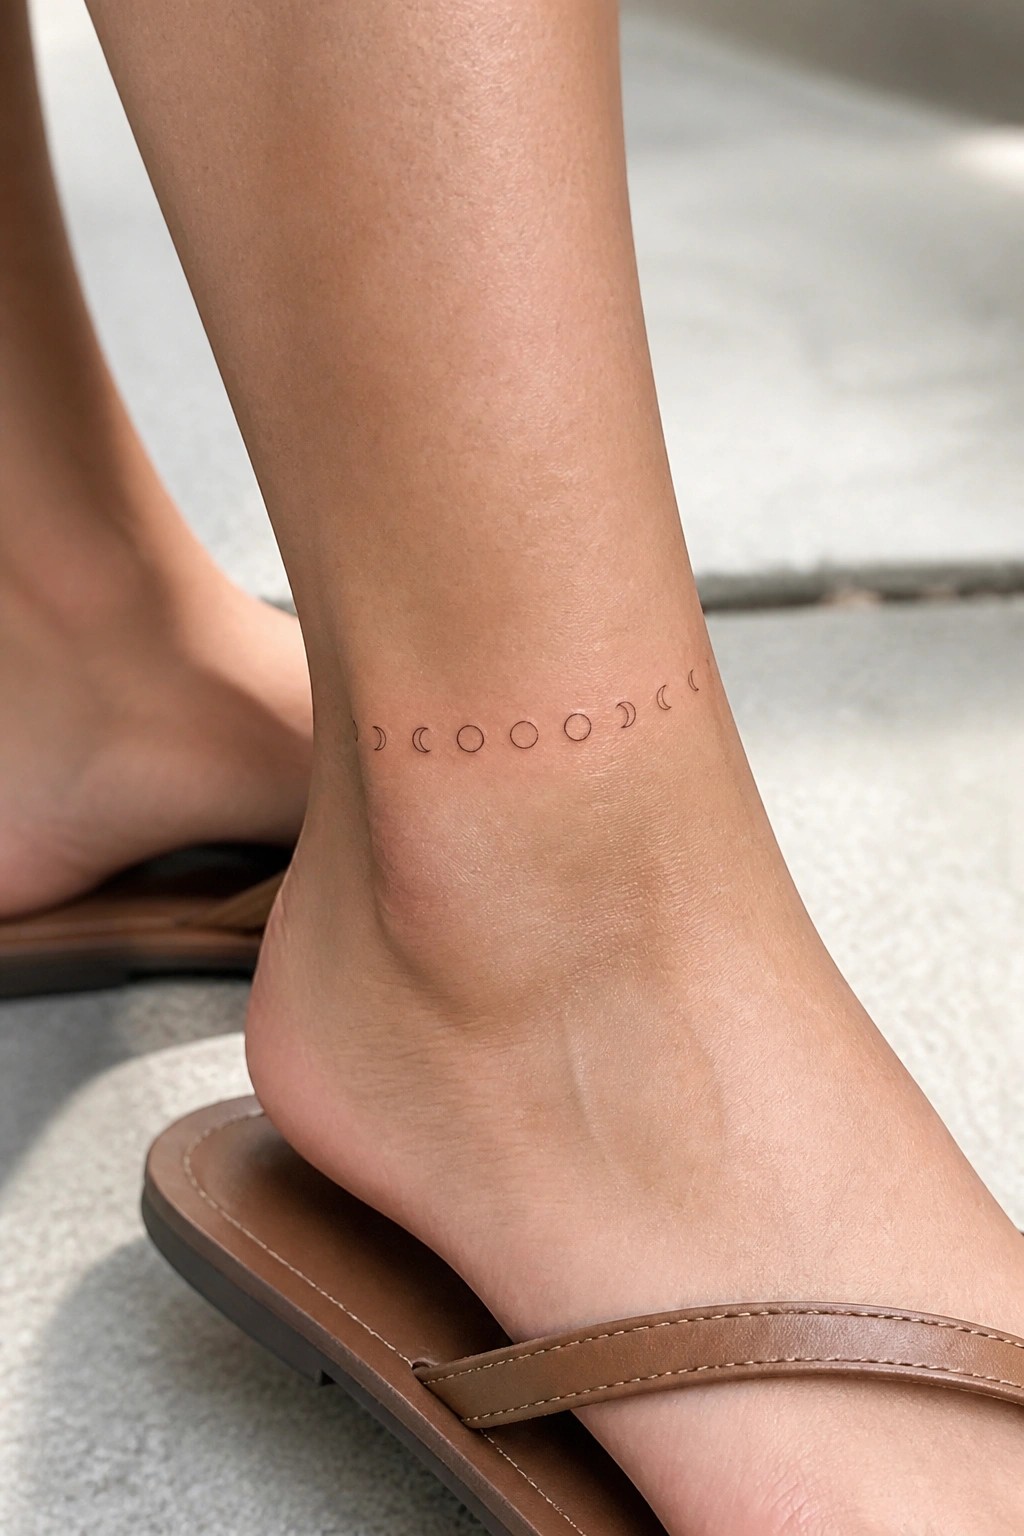
Around the ankle a tiny row of moon phases sits like a delicate anklet. The design uses ultra fine black line work with small crescents and a few full moons. It stays small and low on the leg so it reads as a subtle, wearable accent.
I think the compact scale makes
Three crescent moons stacked on the neck
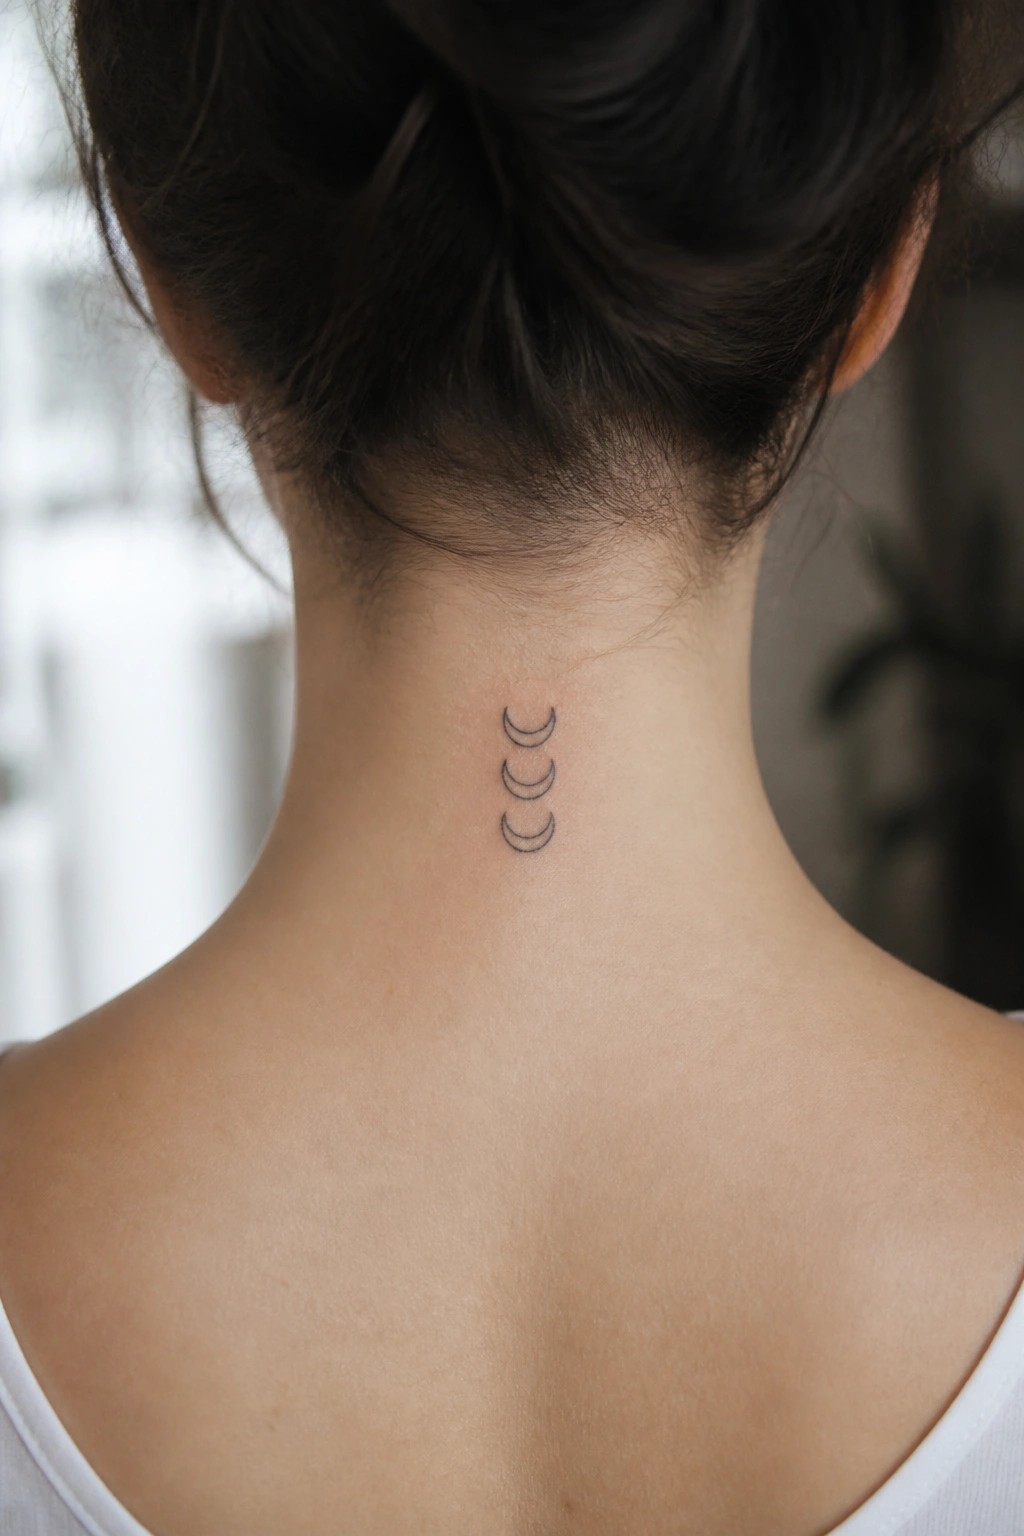
The back of the neck works well for this design because the vertical space lets the moons sit in a straight line. Each one uses a thin outline and stays small enough to keep the whole tattoo compact.
I think the simple stacking makes sense here since it avoids any crowding on the narrow area. The minimal lines also help it stay readable even at this size.
Frequently Asked Questions
1) Are dainty moon tattoos a good choice for a first tattoo? Yes. Dainty moon tattoos are ideal for first timers because they are usually small, quick to do, and easy to heal. They let you test your pain tolerance and the tattooing process without a long session. Start with a simple outline or small crescent if you are nervous, and discuss size and placement with the artist so the design suits your comfort level.
2) Where should I place a dainty moon tattoo and how painful will it be? Common beginner-friendly placements: – Outer forearm, upper arm, shoulder, upper back, and thigh: lower pain, easy to hide or show. – Wrist, ankle, behind the ear, ribcage, sternum, and foot: more sensitive and more painful. Pain varies by person and location. On a general 1 to 10 scale: – Low pain: outer upper arm, outer thigh, shoulder (around 2 to 4). – Moderate: inner forearm, wrist, ankle (around 4 to 6). – Higher: ribs, sternum, foot, behind ear (6 to 9). Prepare by eating, hydrating, and resting. Avoid alcohol and blood thinners before your appointment.
3) How big should a dainty moon tattoo be and will the detail hold up over time? Size matters for longevity: – Simple crescent or outline: 1 to 2.5 cm (about 0.4 to 1 inch) can work. – Fine-line detail, faces, or tiny dotwork: aim for at least 2 to 3 cm so lines do not blur together as the tattoo ages. Style tips: – Solid black lines and slightly bolder line weights age better than ultra-thin lines. – Colored inks, especially pastels and reds, fade faster and may need touch-ups. Expect some softening of fine detail over years. If you want crisp long-term detail, choose a slightly larger size or ask the artist to use slightly stronger lines.
4) What is the aftercare and typical healing timeline? Basic aftercare steps: – Leave the bandage on as the artist instructs, usually a few hours. – Wash gently with mild, fragrance-free soap and lukewarm water twice daily, pat dry. – Apply a thin layer of recommended ointment for the first few days, then switch to an unscented lotion until healed. – Avoid soaking, swimming, hot tubs, and direct sun until fully healed. Healing timeline: – Surface healing: 1 to 2 weeks (scabbing and peeling common). – Deeper healing: 4 to 6 weeks for skin to fully settle. Watch for warning signs of infection: increasing redness or swelling, spreading redness, pus, severe pain, or fever. Seek medical help if these occur.
5) How do I choose the right design and artist, and how much will a small moon tattoo cost? Choosing a design: – Pick a moon style that matches your aesthetic: simple crescent, phases, delicate line work, dotwork, floral accents, or tiny lunar face. – Think about symbolism you want to include, such as phases for cycles, a crescent for growth, or small stars for balance. Choosing an artist: – Look for portfolio examples of fine-line or dainty work and healed photos. – Read reviews and ask about sterilization, pricing, and touch-up policies. – Book a consultation to discuss size, placement, and stencil preview. Cost expectations: – Many studios have a minimum charge. Typical range for a small dainty moon is about $50 to $200 in many regions. – Price depends on artist reputation, studio location, size, and detail. Avoid bargain shops; quality and hygiene are worth paying for.
